
A Guide to Importing Transcript into Avid Media Composer via SubCap
In this article, we will guide you through the process of exporting your AI transcripts from Simon Says to Avid Media Composer via SubCap. We will also discuss how to import captions and subtitles for your Avid Media Composer project. To see all the ways to import transcripts to Avid Media Composer and other NLEs, see here.
Exporting Transcripts from Simon Says
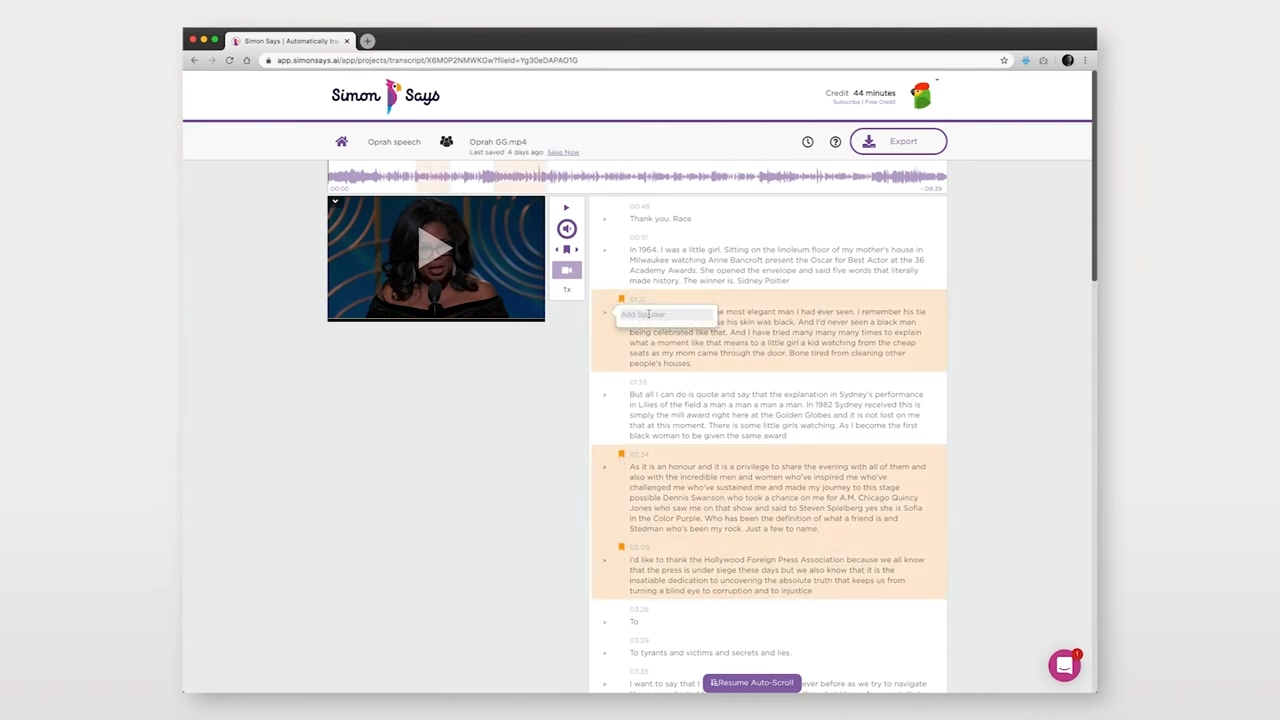
After transcribing your video on Simon Says, you can import your audio and video files via the Simon Says website or Mac app. Once you've selected the transcription language and paid based on the duration of the media, you'll receive the transcript in a few minutes. Simon Says also offers auto-identification of speakers, allowing you to make edits, add bookmarks, add notes, and invite your teammates to collaborate.
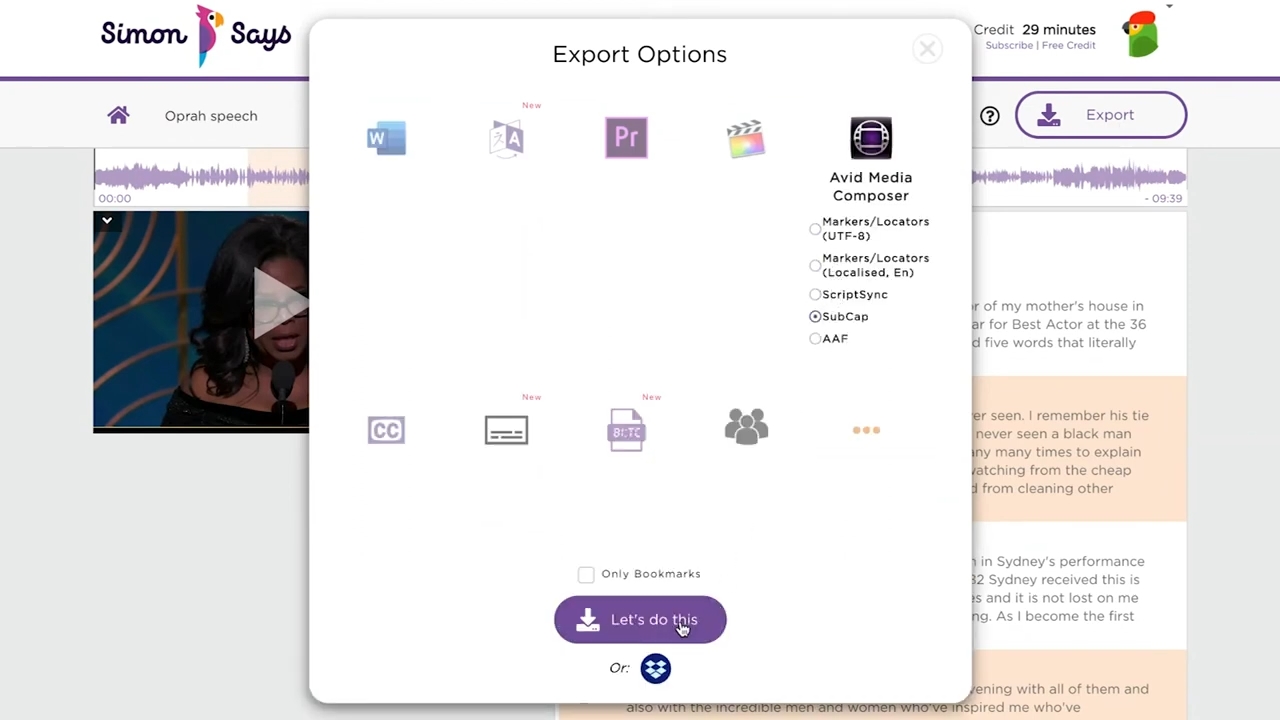
To export these transcripts from Simon Says and import them into your Avid Media Composer project, click the export button and select the Avid Media Composer icon. Then, select Subcap and download the file to your computer.
Importing Transcripts into Avid Media Composer as SubCap
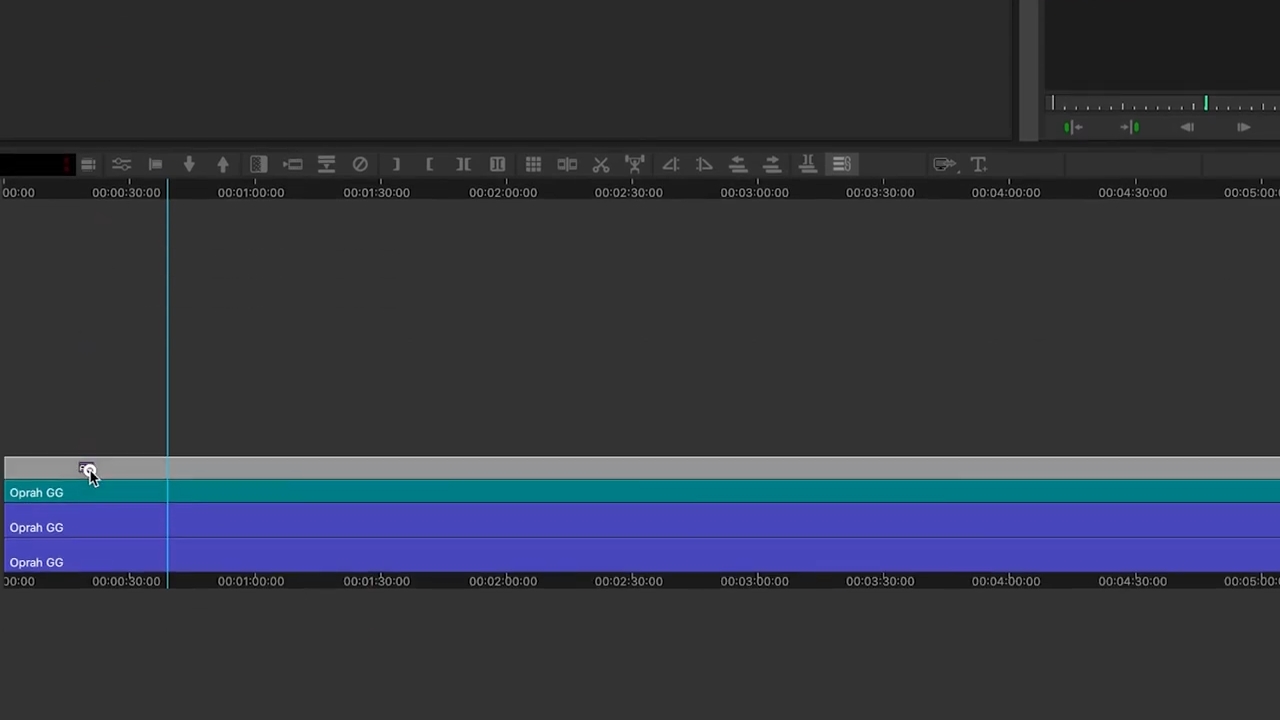
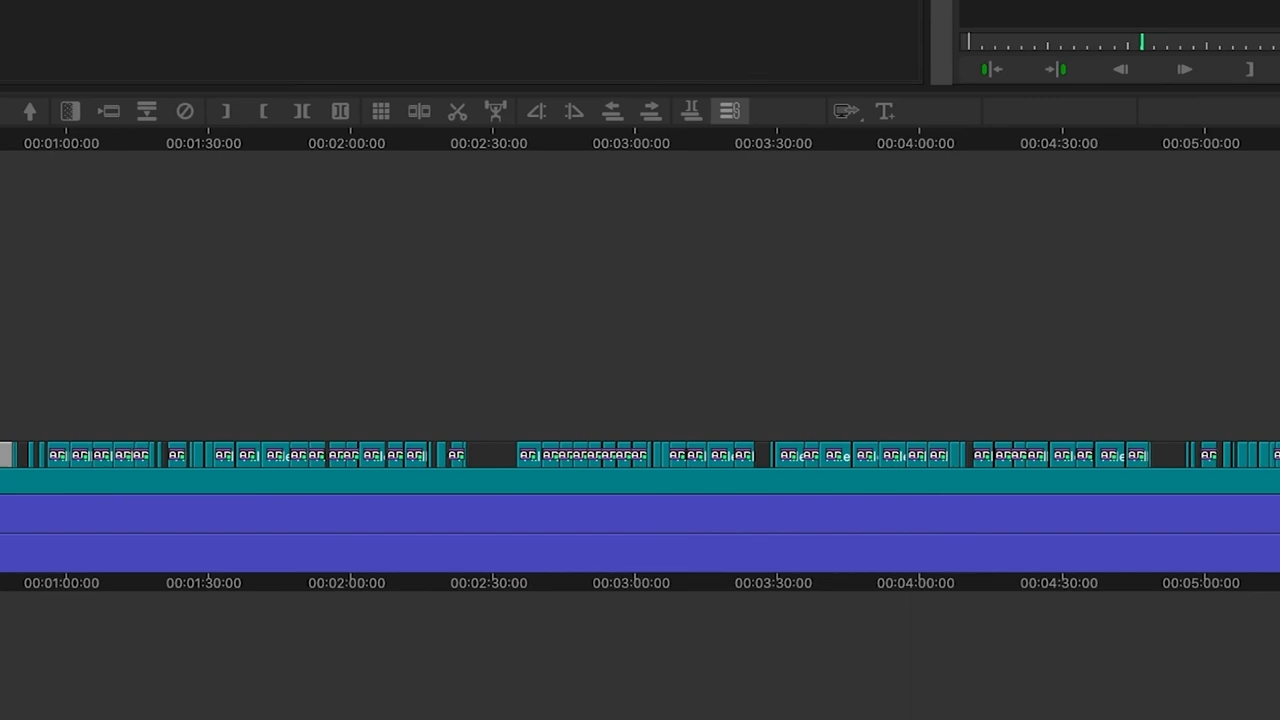
Open Avid Media Composer and find the sub cap generator in the effect palette. Drag and drop the effect on top of your footage on the timeline. Open the Effect Editor window and click Import Caption Data. Locate the text file downloaded from Simon Says and click open. The transcript is now added to your timeline. You can format the text in the effect editor, changing the font size, typeface, or color as needed.
Importing Captions and Subtitles into Avid Media Composer
Before importing your captions, you need to format your sequence so that it will correctly ingest your captions and subtitles. Create a timeline by right-clicking inside the bin area and selecting New Sequence. Make sure that the start time of the timeline is identical to the time of the media file. Import all the media you plan on using for your project into the bin window.
Once your files finish encoding, they'll appear inside the bin. From here, you can drag footage into the sequence window. This will automatically populate the appropriate video and audio channels for your source footage. Now that you've created the project sequence, you can start the process of importing captions.
Adding Captions to Your Sequence
Click on timeline in the top menu of Avid Media Composer. Scroll to new and select Video Track. This is where your caption files will eventually end up in your sequence. Toggle the new video track and then go to tools and choose Effect Palette. Click and drag the sub cap effect onto the newly created video channel. Now you can import caption files into your Media Composer project.
Importing Foreign Subtitles
If you'd like to add foreign subtitles to your sequence, there are a couple of ways to accomplish this. One option is to create a new video channel and import another captions file for foreign language subtitles. This will create another layer of captions in the same sequence that can be activated as desired. Another option is to duplicate your existing sequence and import your foreign subtitles into it. This way, you can create a version of your edit with foreign open subtitles, rather than having to toggle them.
Conclusion
Exporting transcripts from Simon Says and importing them into Avid Media Composer is a straightforward process. With the right steps, you can easily add captions and subtitles to your project, enhancing its accessibility and reach. If you have any questions, feel free to reach out to us via the chat icon at the bottom right of the Simon Says website.


