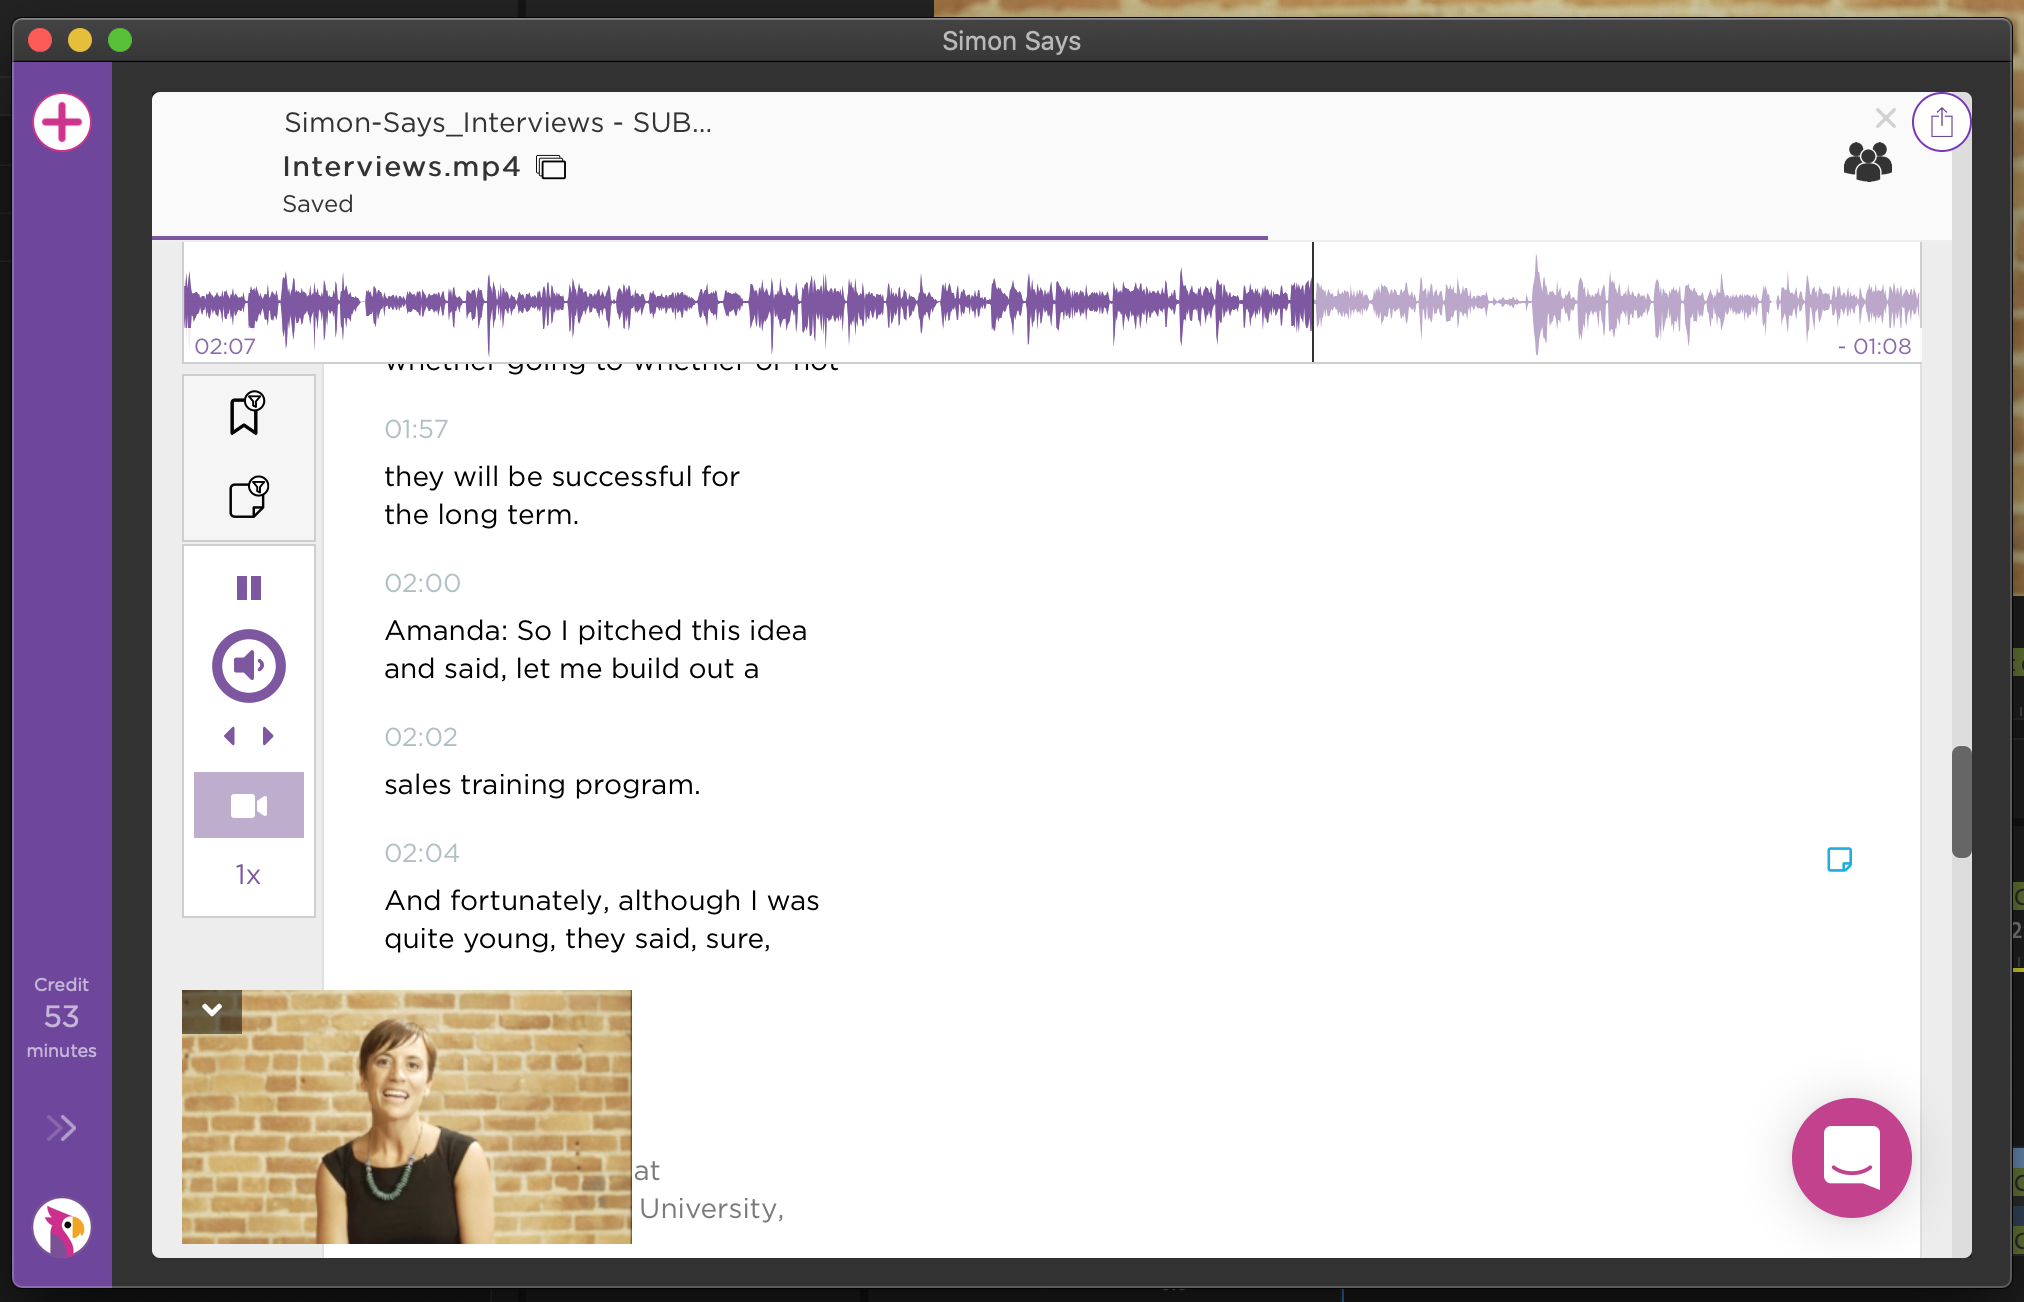
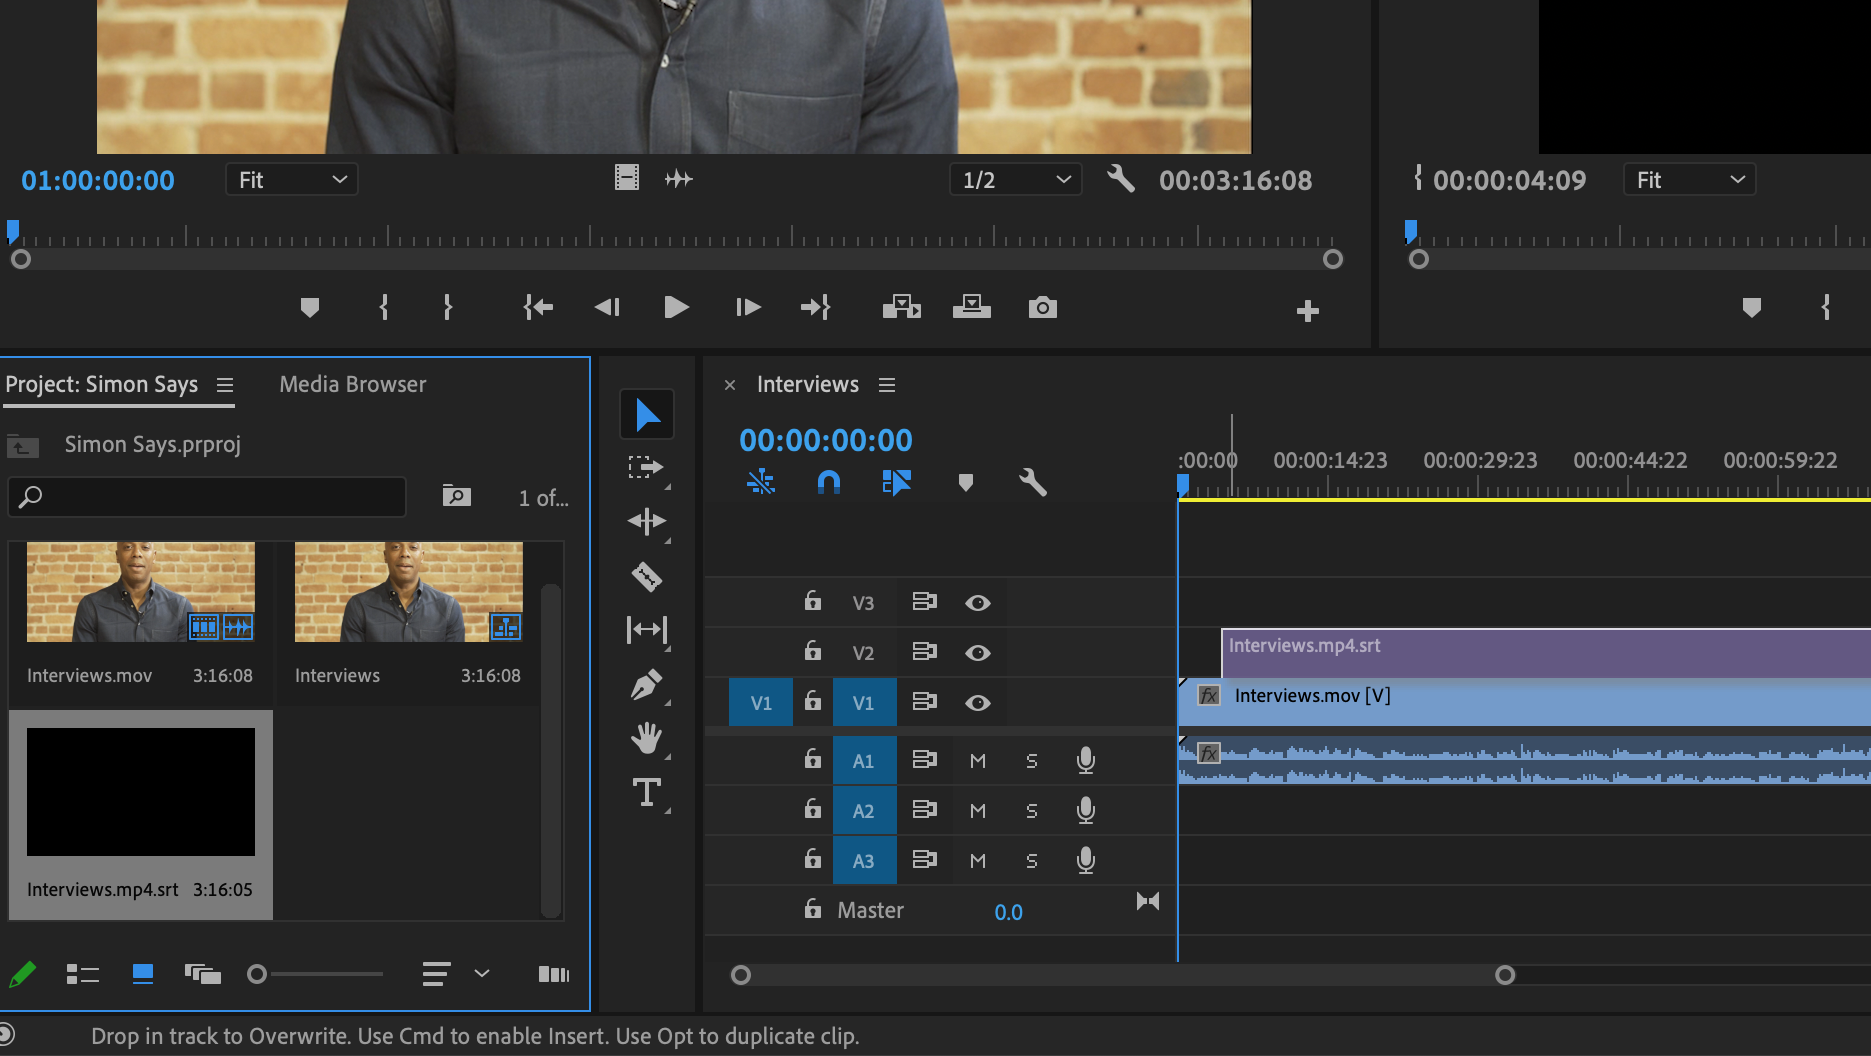
Subtitles and captions are paramount as a deliverable to distributors and platforms. They're also important to increase accessibility and expand the audience in international locations. It can seem daunting, but A.I. has advanced a lot, making the process fast, efficient, and, maybe, fun. In this guide, we'll show you how to subtitle and caption your Adobe Premiere Pro timeline/sequence, with accuracy and ease, using artificial intelligence.
How to subtitle/caption your Adobe Premiere Pro timeline/sequence

1. Prepare and export timeline for transcription

In Premiere Pro, navigate to File > Export and select Export Media. Disable the music and sound effects tracks prior to export as it will increase the accuracy by the A.I..

2. Upload timeline for transcription

In Simon Says, create a new project and drop in your exported timeline. Select the language of your video and click Transcribe (we support 100+ languages, including English, French, Japanese). Give Simon Says a few minutes to do its thing.

3. Preview in the Visual Subtitle Editor

Next, preview your subtitles/captions by exporting your Simon Says transcript to the Visual Subtitle Editor. You can combine, split, and edit subtitle cards as needed: the video and transcript always remain in sync. To translate for foreign language subtitles, return to the export screen and choose from 100+ languages.

4. Bring the subtitles back to Premiere

Open the export screen, select Subtitles > SRT. Unzip the downloaded file. Back in Premiere, click File > Import and select the SRT file you just downloaded. Drag the subtitles/captions from the project bin and place the clips in a new track, where the dialogue starts. Next, go to Windows > Captions; here you can adjust the subtitle/caption styles.

Hooray! With just a few clicks, you now have accurate subtitles/captions in your Premiere project, ready to share for a wider audience.
How to subtitle/caption your Adobe Premiere Pro timeline/sequence
Hooray! With just a few clicks, you now have accurate subtitles/captions in your Premiere project, ready to share for a wider audience.

Try Simon Says for free.

Sign Up

15 minutes free credit

Search other workflows

15 minutes free credit