Final Cut Pro Tutorial: A Guide to Editing for Beginners
Apple’s Final Cut Pro has had a long history in film history and video production. Since its conception, it has been the quintessential editing software for both post-production professionals and amateurs alike.
While Final Cut Pro X’s intro (now simply called Final Cut Pro) had a rocky startup that left many old software users disgruntled, it still continues to be a pillar of the editing industry besides programs such as DaVinci Resolve and Adobe Premiere Pro. With a clean interface and snappy design, Final Cut is a video editor’s dream.
This step-by-step beginner’s guide to Final Cut Pro will go over everything you need to know about how to edit a video with plenty of pro tips and tricks. We’ll go over a slew of different editing techniques and workflows for Mac devices.
Plus, we’ll show you how to make the platform even better using Simon Says’ AI-powered transcription and captioning extension.
Understanding the Final Cut Pro Interface
The interface of Final Cut is much different than what you’ll find on similar NLEs. Final Cut Pro has a “user experience first” sort of design philosophy, offering an incredibly intuitive and clean-looking workspace. There’s one thing, in particular, that may seem off-putting to some people.
Final Cut Pro uses a magnetic timeline, meaning that the timeline “magnetically” adjusts depending on where you move your clips. This was a feature introduced in Final Cut Pro X (back in 2011) and an incredibly divisive one at that.
A lot of professional video editors couldn’t stand the magnetic timeline when it was first introduced, claiming that FCPX looked and felt too much like iMovie. In practice though, the magnetic timeline can actually save quite a bit of time once it’s mastered.
There are four main areas to Final Cut. On the left side of the screen is where you’ll find all of your media and text (by default it’s set to the Libraries Sidebar). You’ll be able to import audio and video from this side of the screen as well as create text.
The middle is your viewer where you’ll be able to playback your video. You can also access some of your timeline tools at the bottom of your viewer along with your audio levels.
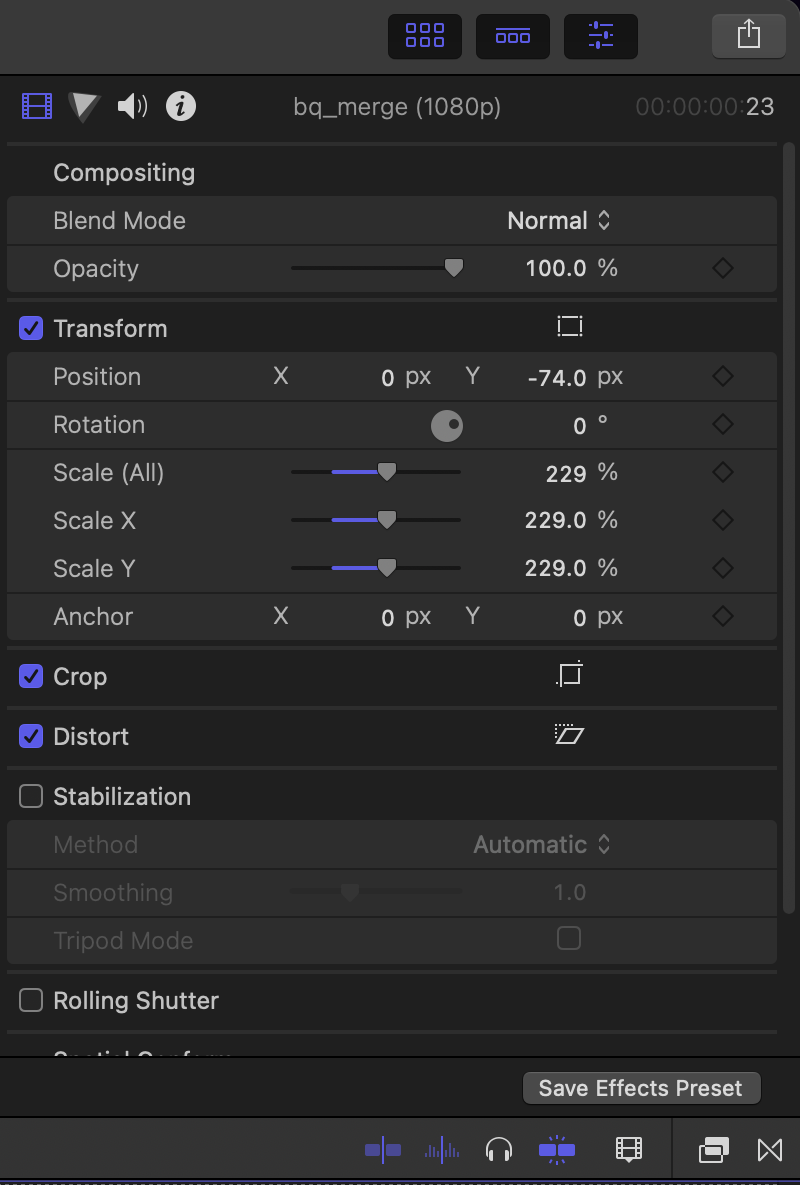
On the right side of the screen are 4 functionalities (the Inspector Sidebar). You’re able to edit your clip, color your clip, edit your sound, and view your clip information from here.
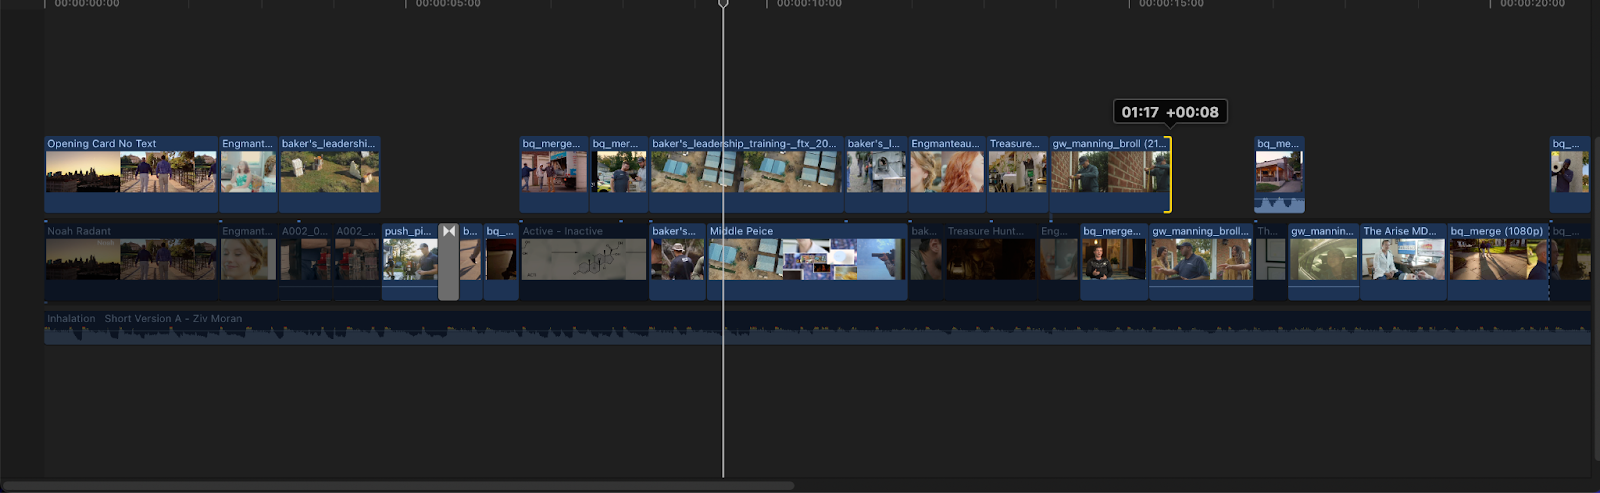
Finally, at the bottom of the screen is the magnetic timeline. From this timeline, you’ll also be able to access your video and audio effects as well as your transitions.
Creating projects in Final Cut Pro
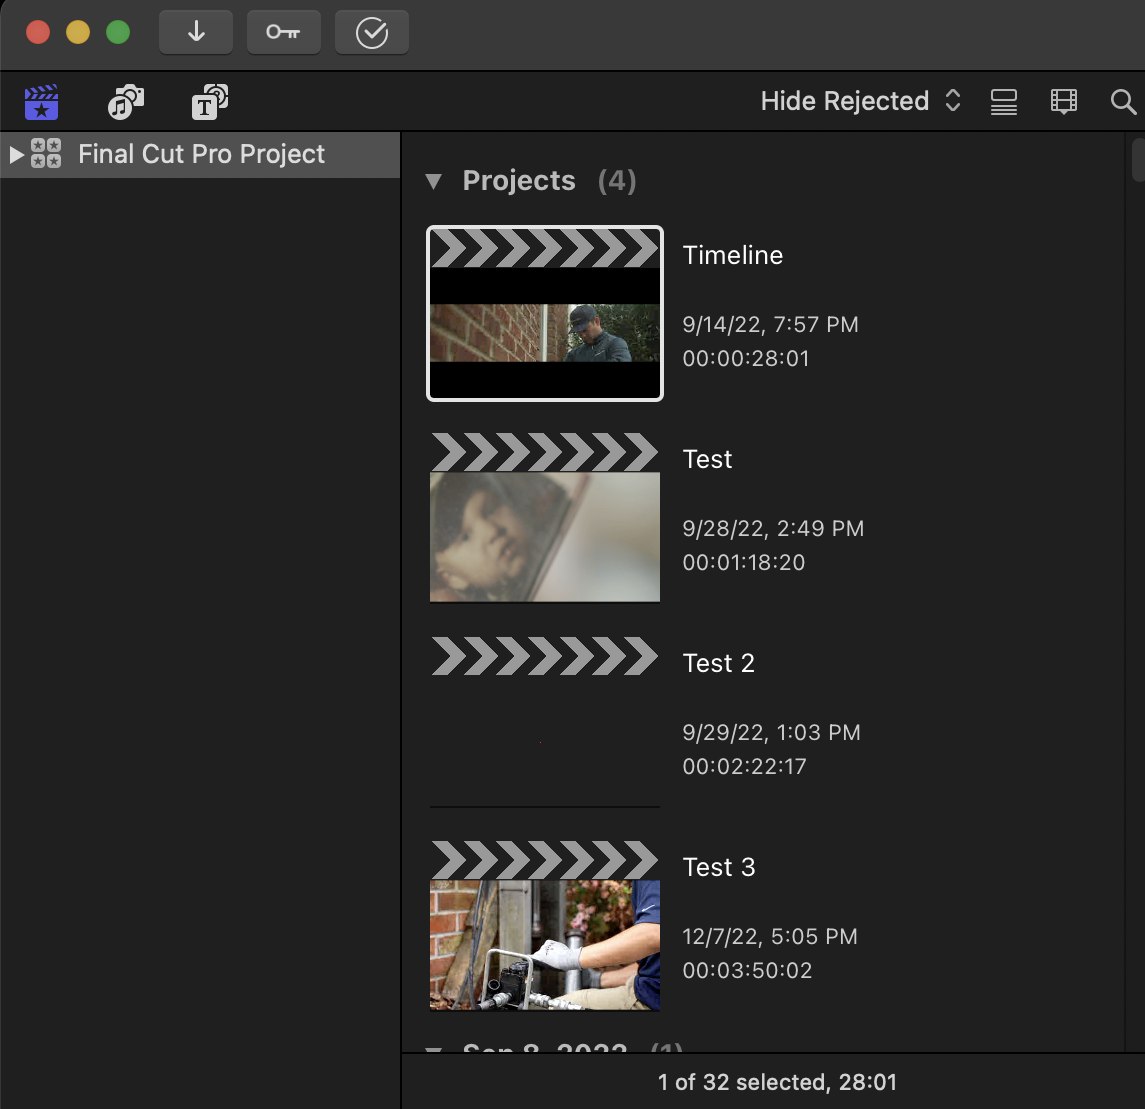
The file structure in Final Cut Pro is very different than most non-linear editors. Final Cut Pro has Projects, Events, and Libraries. Each of these has a much different meaning in Final Cut than they do in video editing software such as Adobe Premiere though.
Projects in Final Cut are actually what create new timelines.
An Event is akin to Projects in Premiere Pro (which can be kind of confusing). Events are what hold all of your media. A Library is a container that houses all of this data (your Projects, Events, and footage). When someone asks for a new project in Final Cut Pro, they’re referring to a Library.
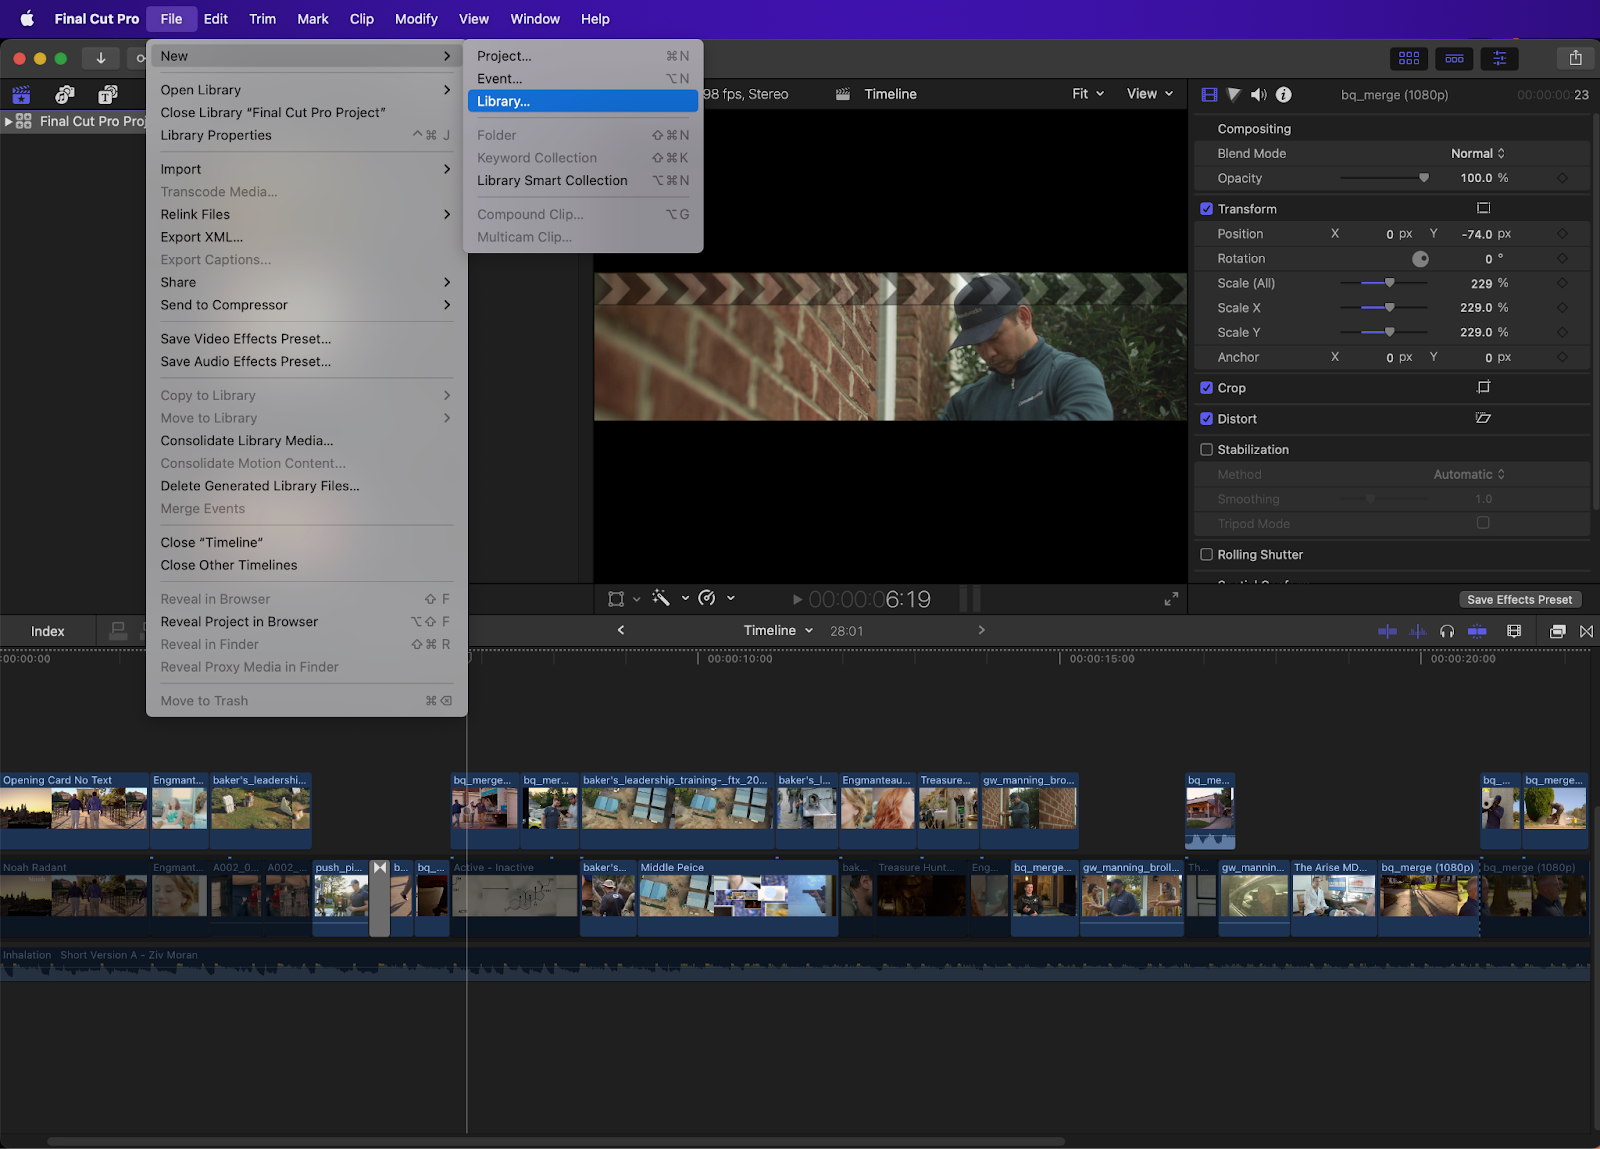
Creating a new library in Final Cut Pro can be done by going to File > New > Library. There’s no keyboard shortcut for this particular command.
How to add B-Roll
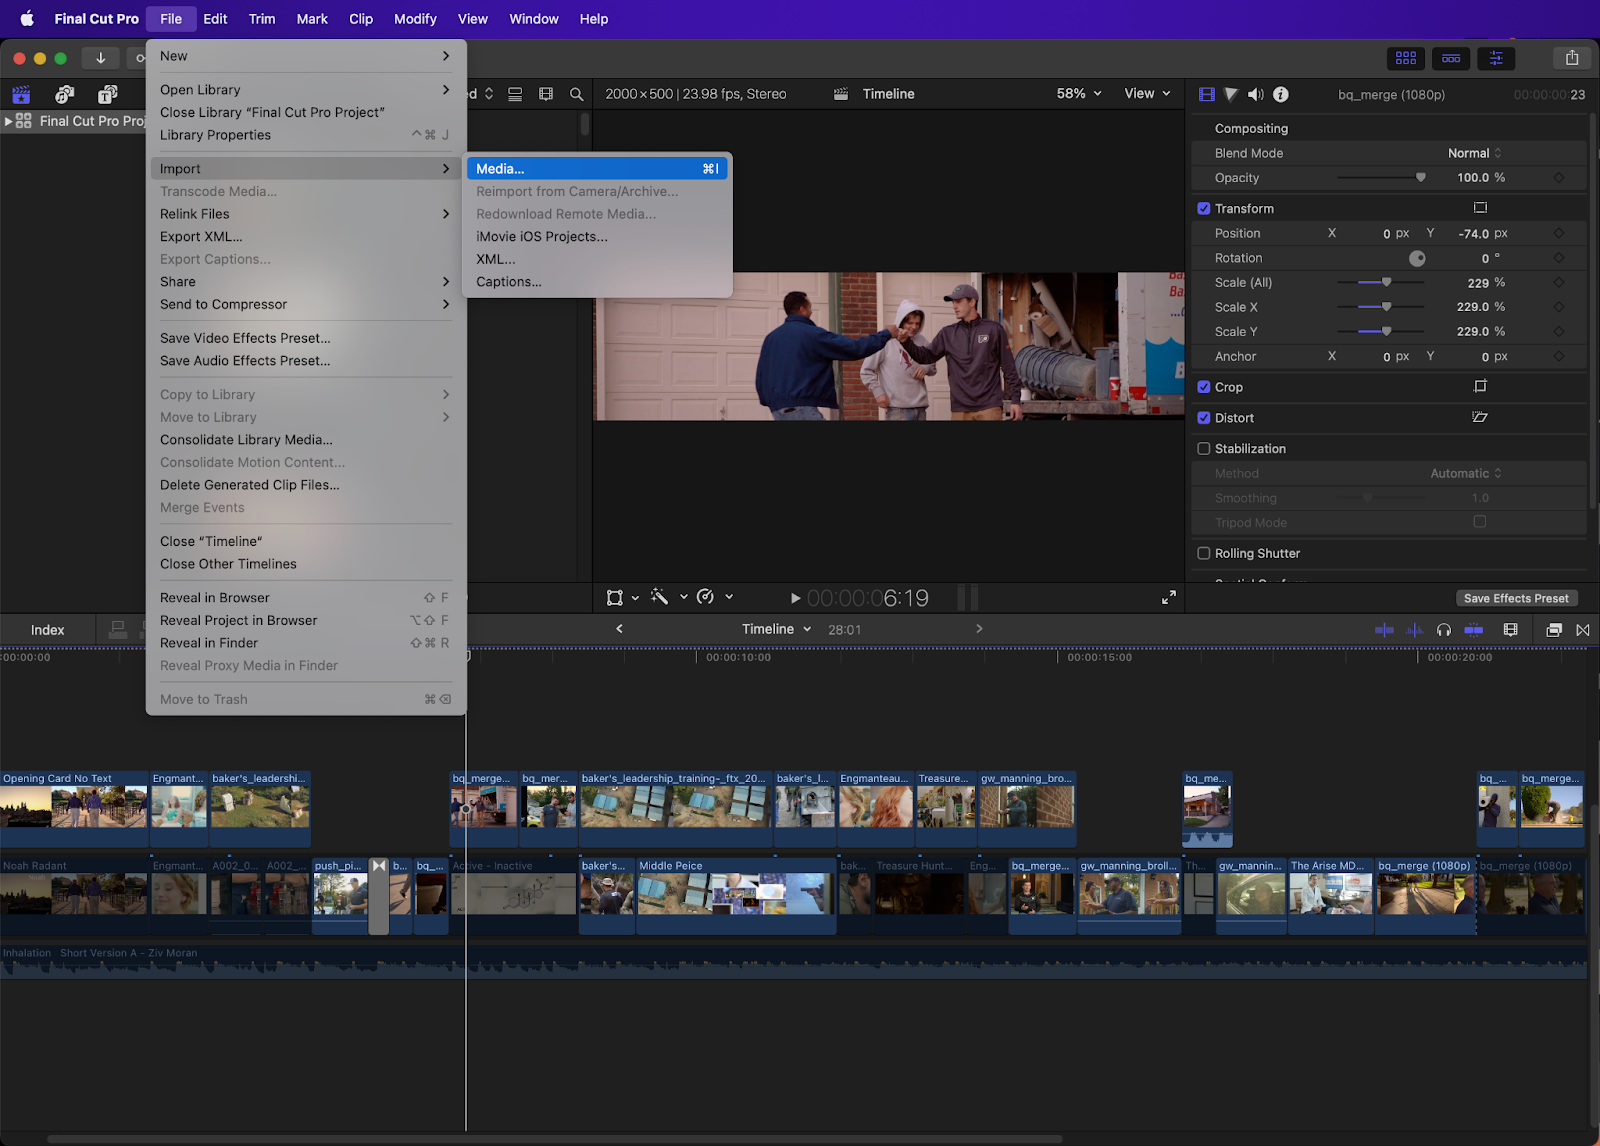
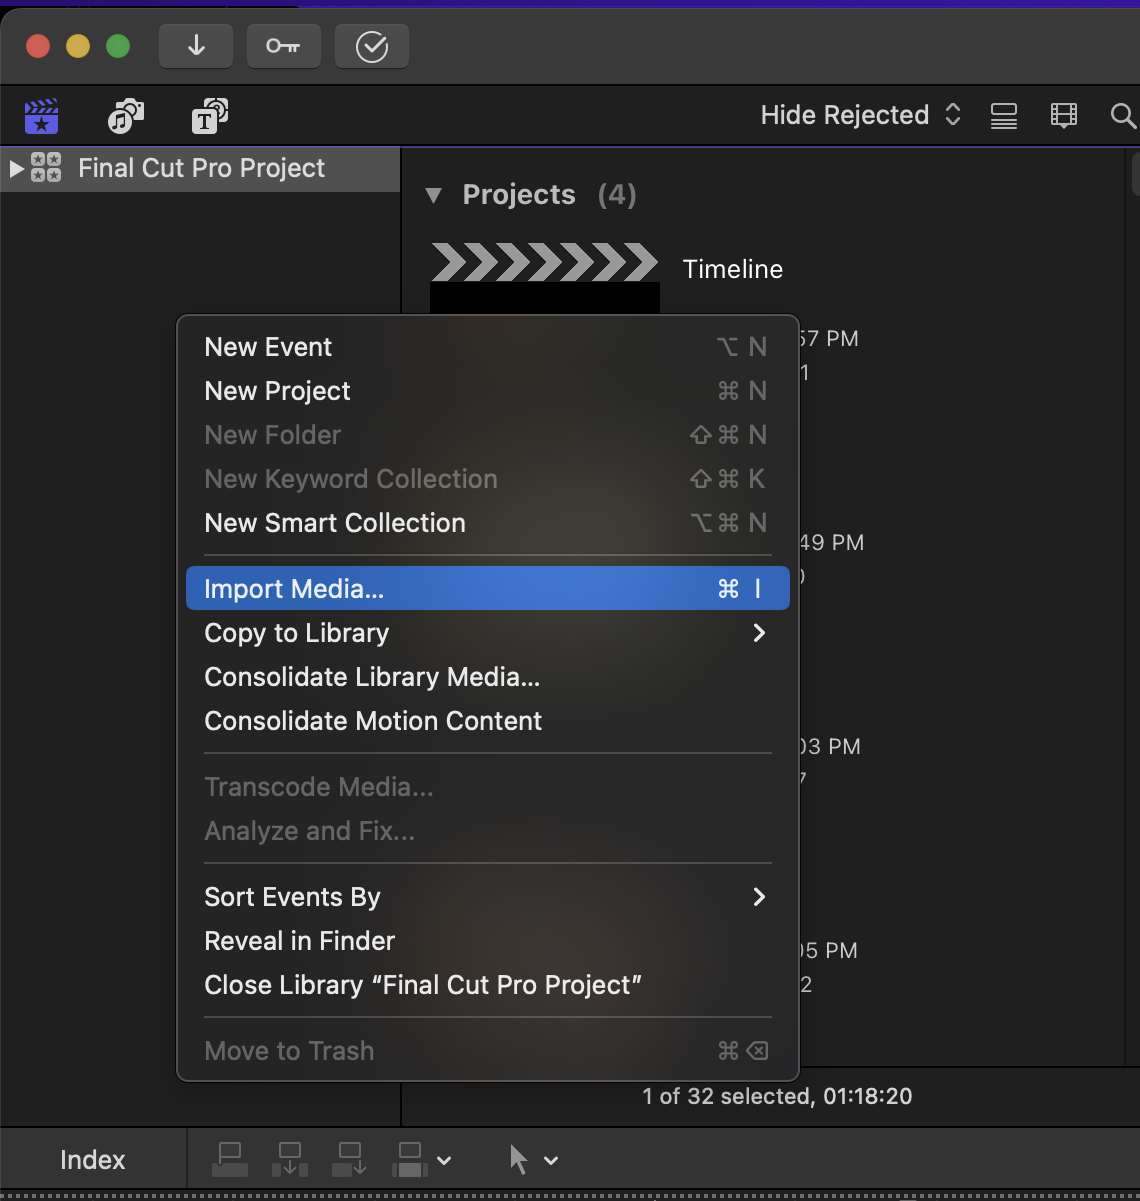
Of course, you’ll need to import media to start creating content. Importing video clips is as easy as going to File > Import > Media or by clicking ⌘I on Mac. You can also drag and drop footage from your finder window directly into your media bin. Once there, you can double-click on your footage to view the footage in your source window.
You can also right-click inside your Libraries Sidebar and go to Import media to import your footage and sound effects as well.
How to create and edit a project
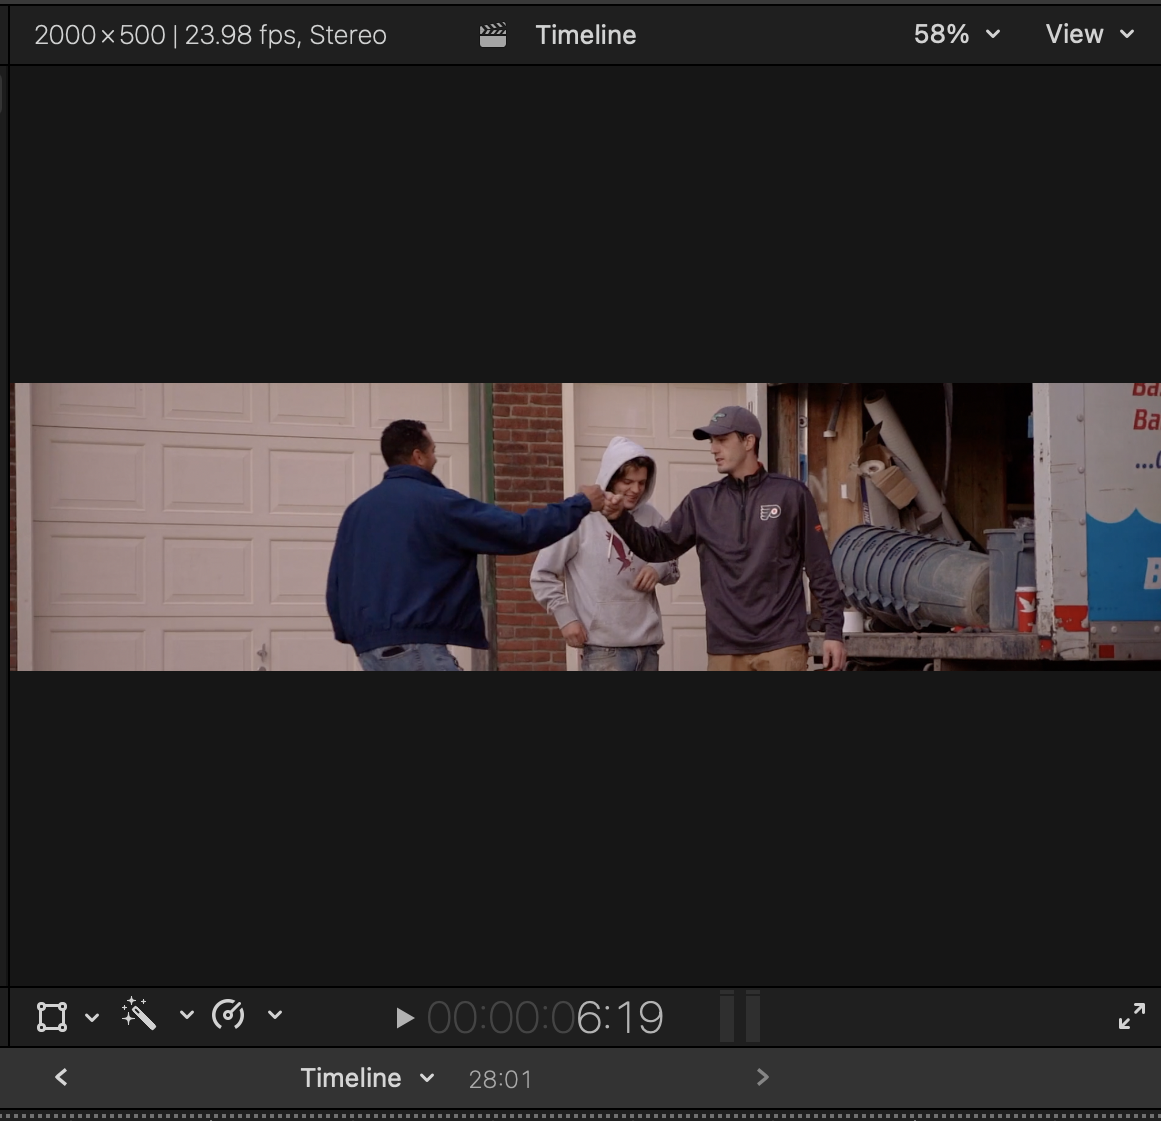
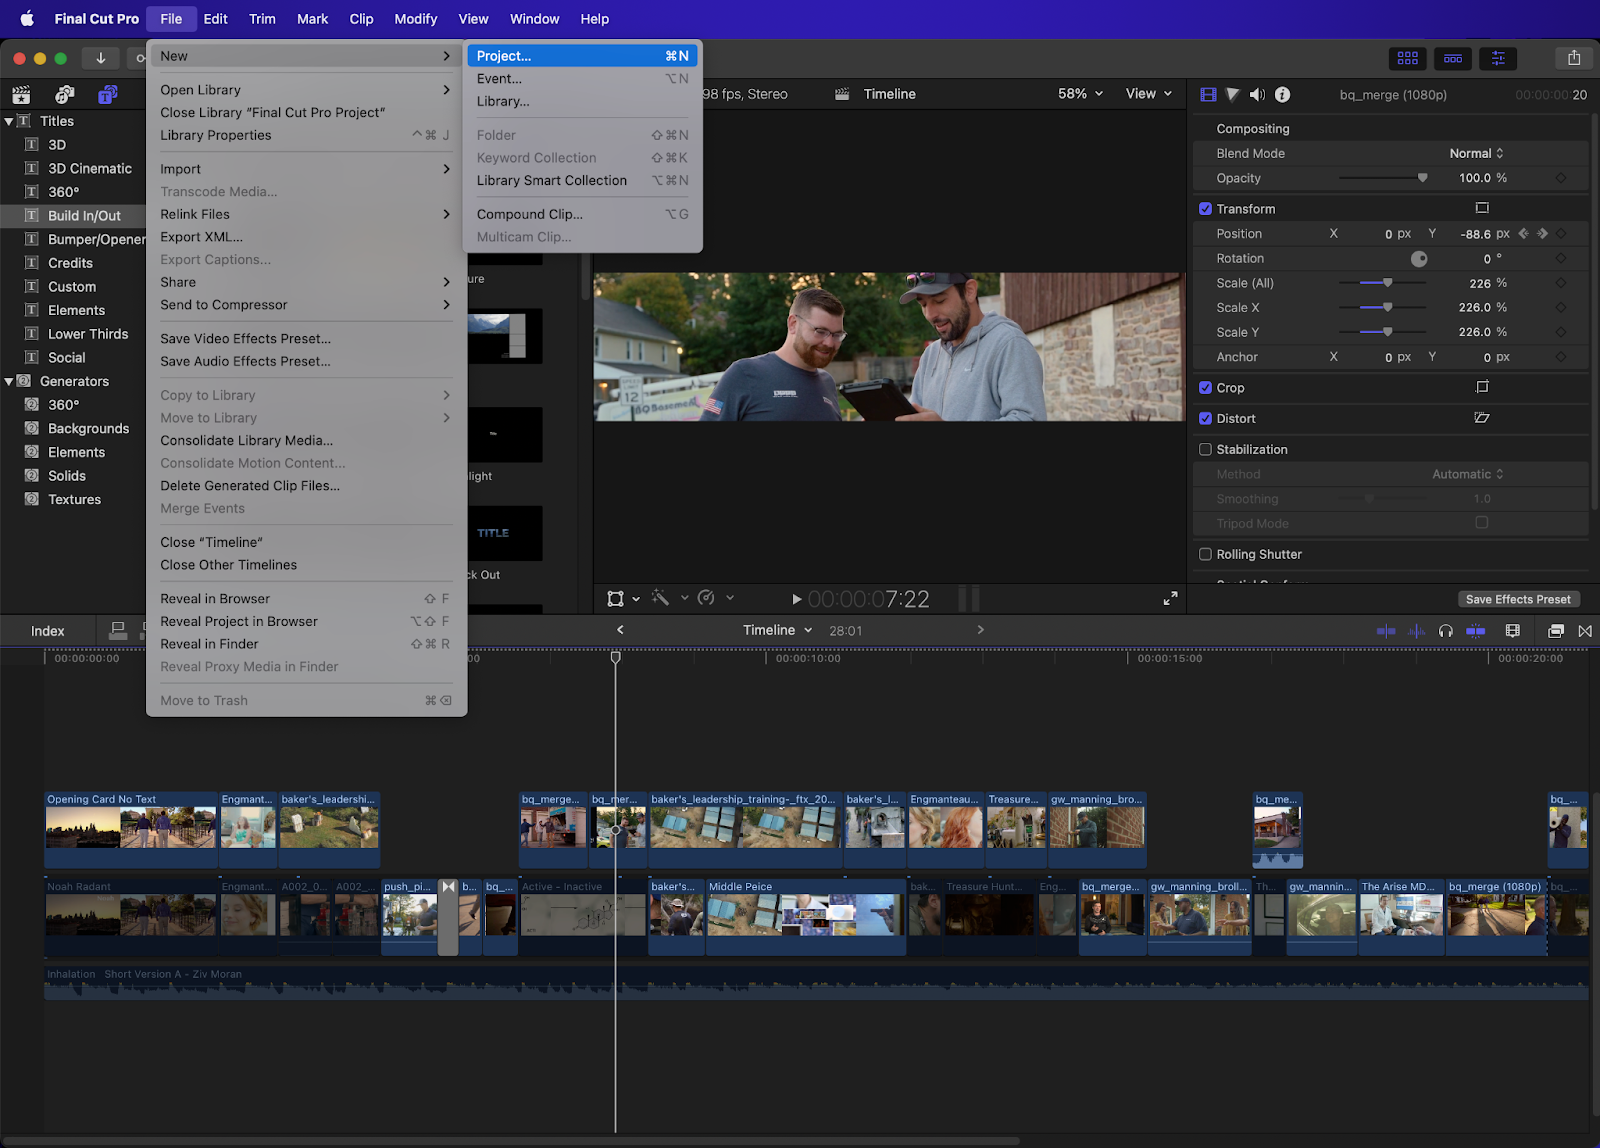
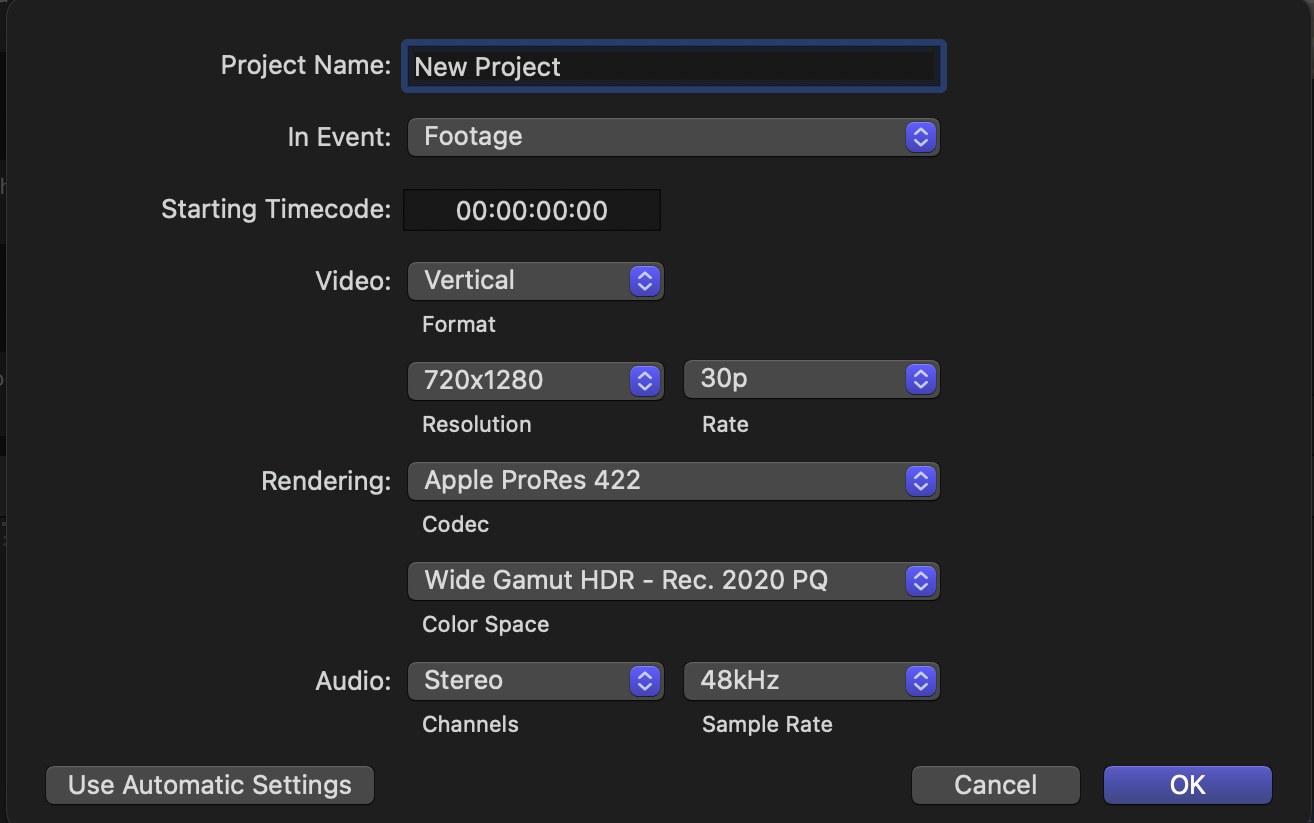
Now, where do you put your footage? All editing is done in a thing known as a Project (also known as a sequence or timeline). To create a new project, you’ll want to right-click inside the libraries sidebar and go to New project. You can also go to File > New > Project or use the keyboard shortcut ⌘N.
Once this is selected, a pop-up window will appear allowing you to choose your project settings. Immediately, you’ll be greeted by a series of templates for your project.
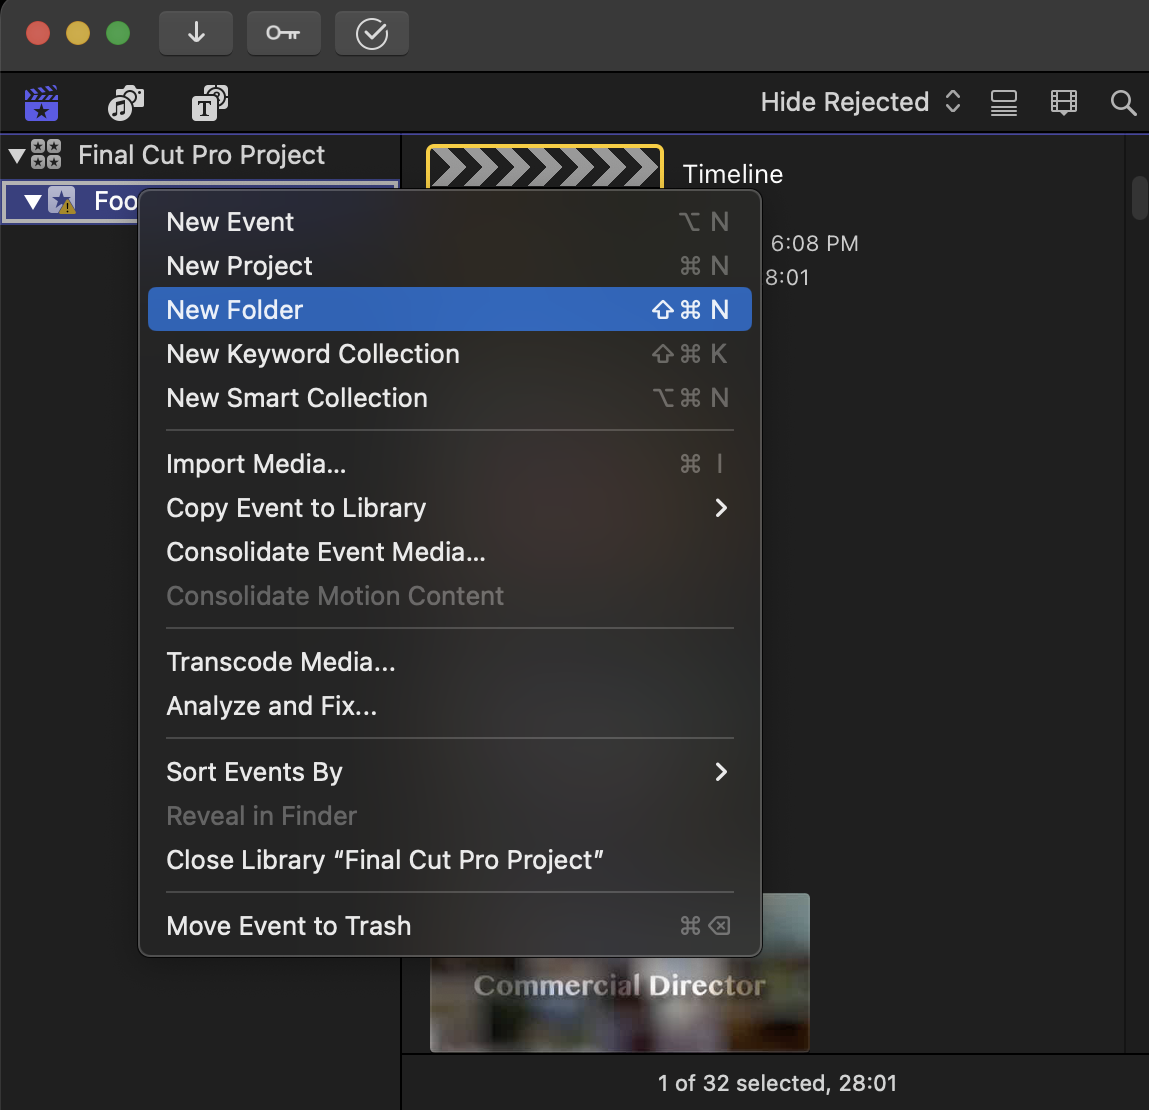
Once your timeline is created, it’ll automatically be put into the Library Sidebar. You can create new folders by right-clicking in the Library Sidebar and clicking on New folder.
Creating new folders allows for more organization within the Library Sidebar since you can throw things such as footage and audio inside of there. Projects cannot be thrown inside folders though.
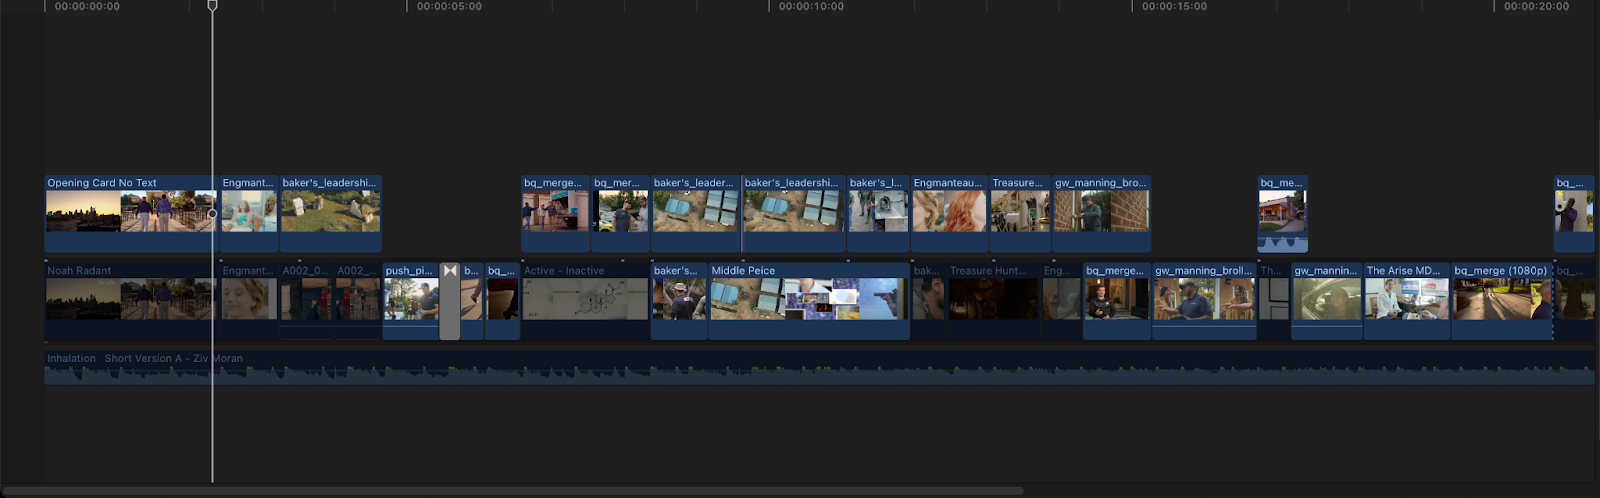
After your project is created, you can put footage inside of it by dragging and dropping it from your Library Sidebar. There are a few different tools that you can use to manipulate your footage that can be accessed at the top of the timeline or through the use of hotkeys.
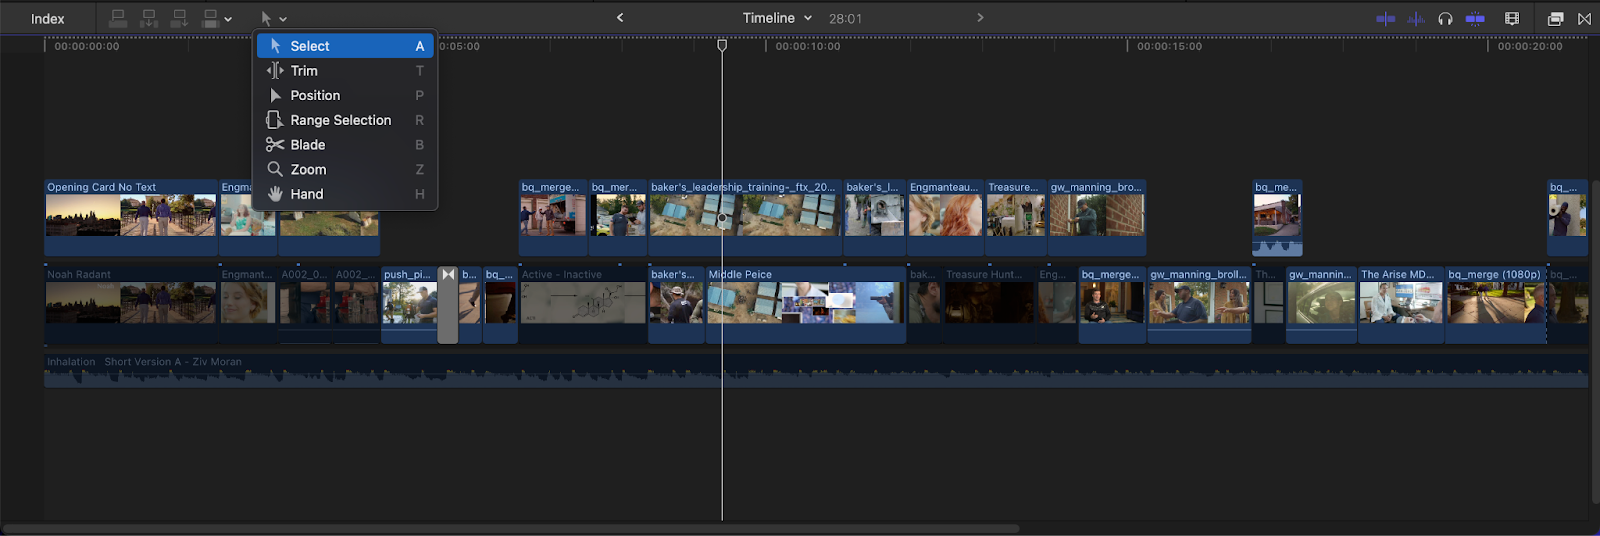
- Select Tool (Hotkey “A”) - lets you drag footage around the timeline. You can shorten or lengthen your clip by pulling on the very end of it (indicated by a yellow marker).

- Trim Tool (Hotkey “T”) - leaves your footage in place as it gets trimmed. The rest of the timeline will move around it.
- Position Tool (Hotkey “P”) - lets you move your footage around without any other clips moving around it. This ends up bypassing the magnetic timeline in most cases.
- Range Selection Tool (Hotkey “R”) - this allows you to select a specific range of your clip inside of your timeline.
- Blade Tool (Hotkey “B”) - lets you cut your footage (indicated by a red line).
- Zoom Tool (Hotkey “Z”) - allows you to zoom in on your timeline. This can also be done by clicking ⌘+ or ⌘- on your keyboard.
- Hand Tool (Hotkey “H”) - lets you move around your timeline without accidentally manipulating your video clips at all.
How to add text and titles
Adding text in Final Cut Pro is straightforward for complete beginners, with plenty of advanced options for more technical users. Everything you need can be found by clicking on the Titles and Generators sidebar on the left-hand side of the screen (indicated by a text icon).
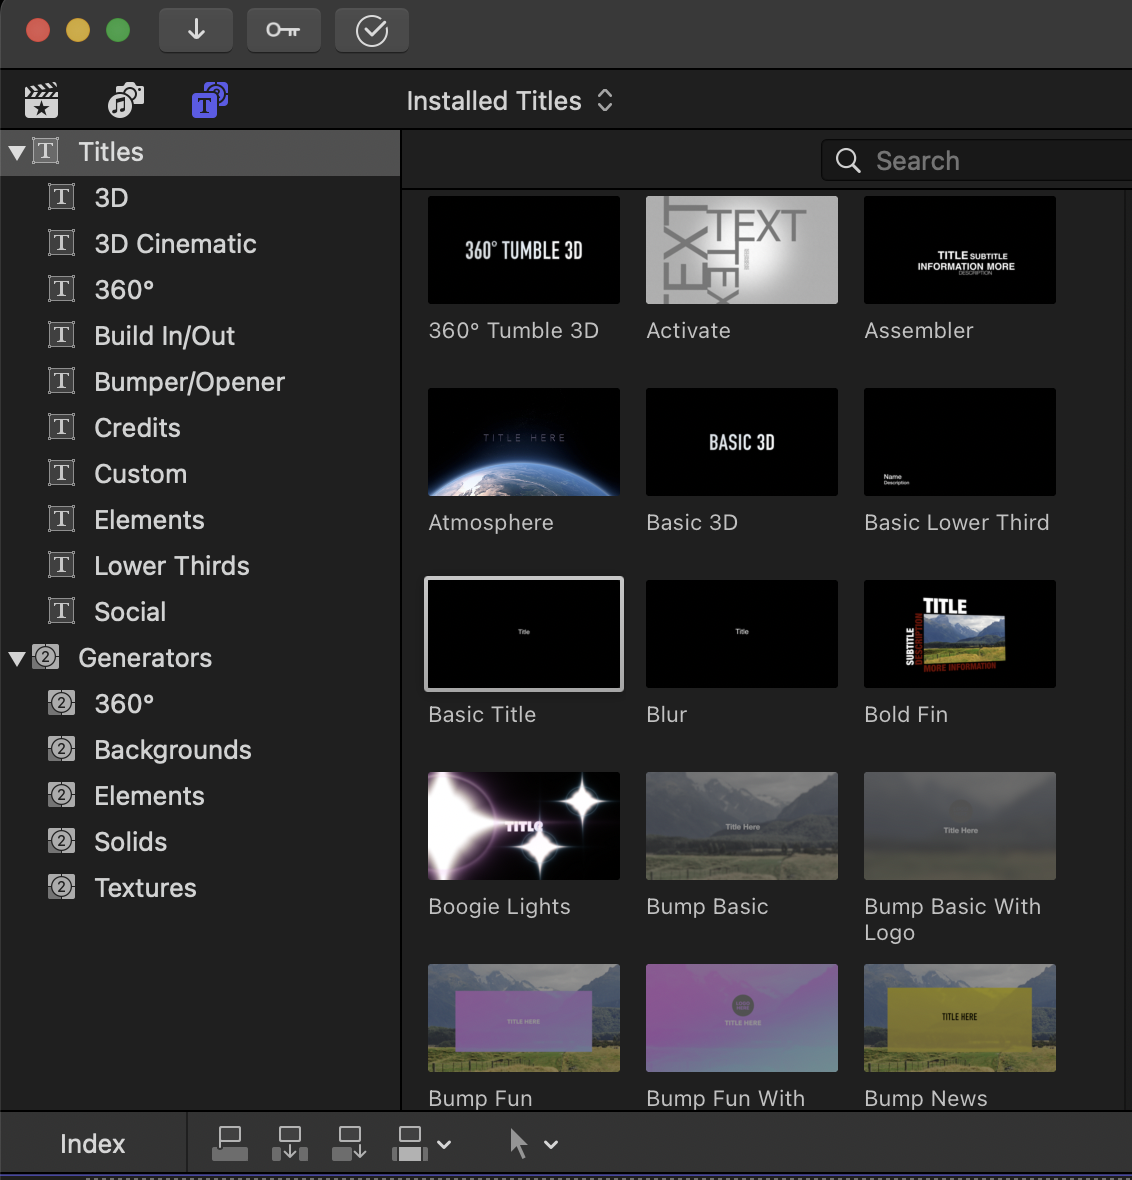
Here, you’ll find a slew of different presets and format options for your text (with plenty of text animations). These templates are great for content creators or filmmakers looking to take their text to the next level. Those looking for completely basic text options can find them by going to Basic Title.
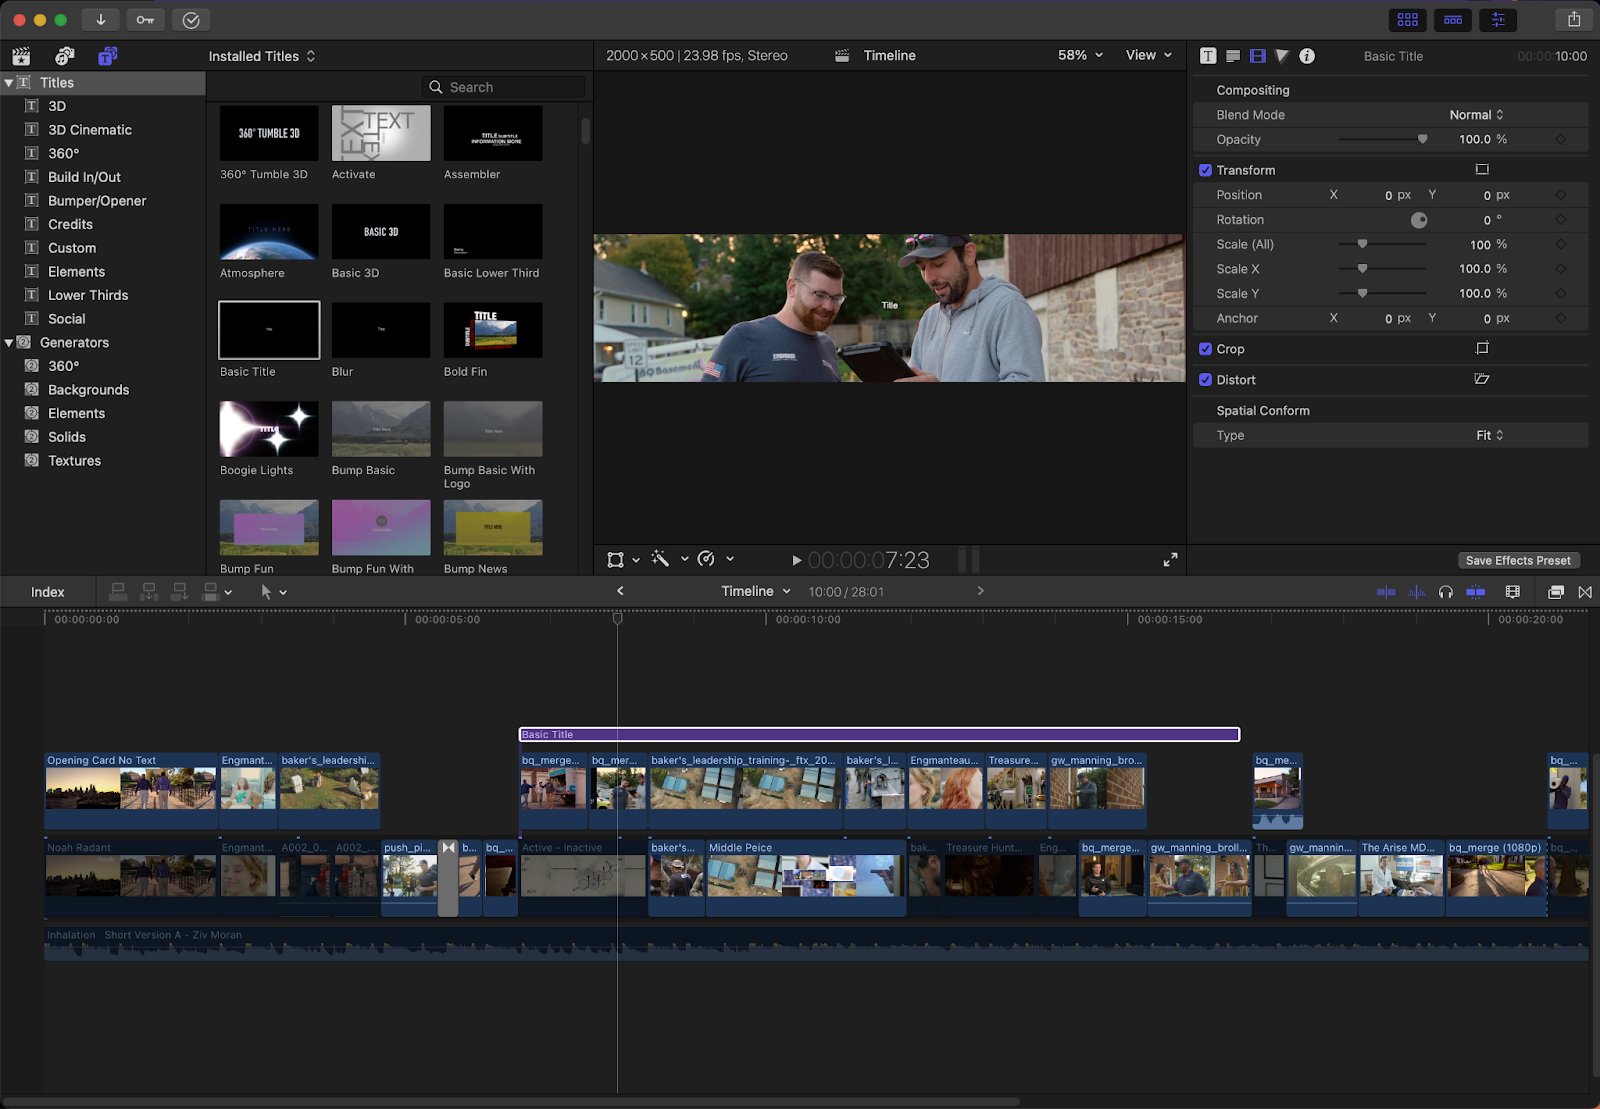
Double-clicking on this will add your text to the timeline. Once the text is in your timeline, you’ll be able to cut and manipulate it as you would footage or audio. Editing the text will be done inside the inspector sidebar.
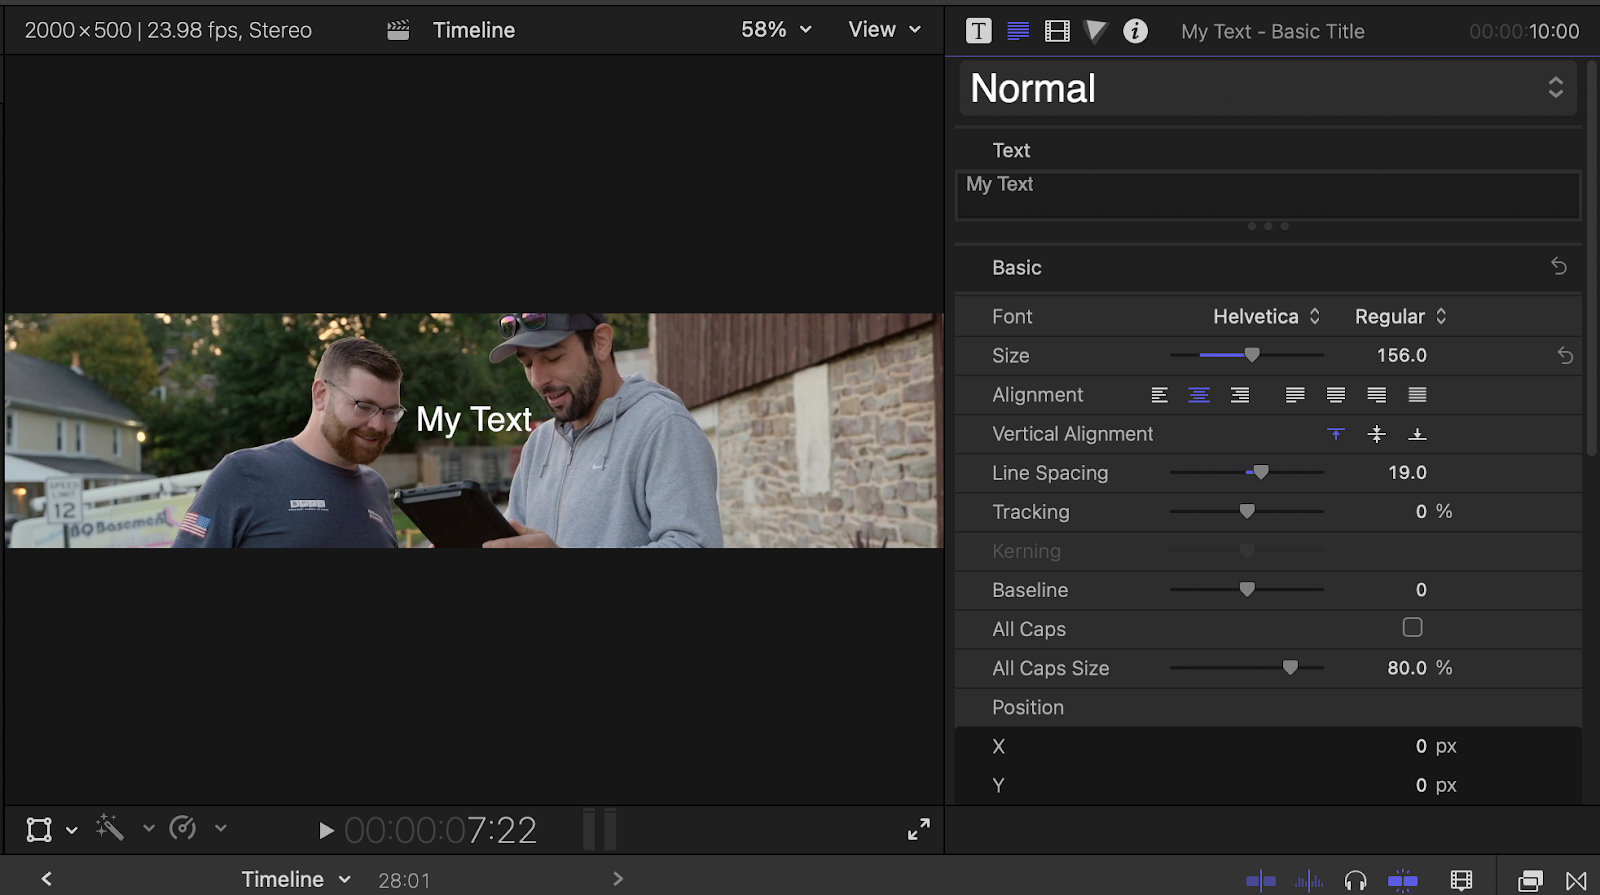
The text inspector gives you design options for your text. Font style, spacing, and centering text within the textbox are all found here. Beneath that are various which allow you to change your text color. You can add things like fill and stroke as well as add a drop shadow and glow to your text as well.
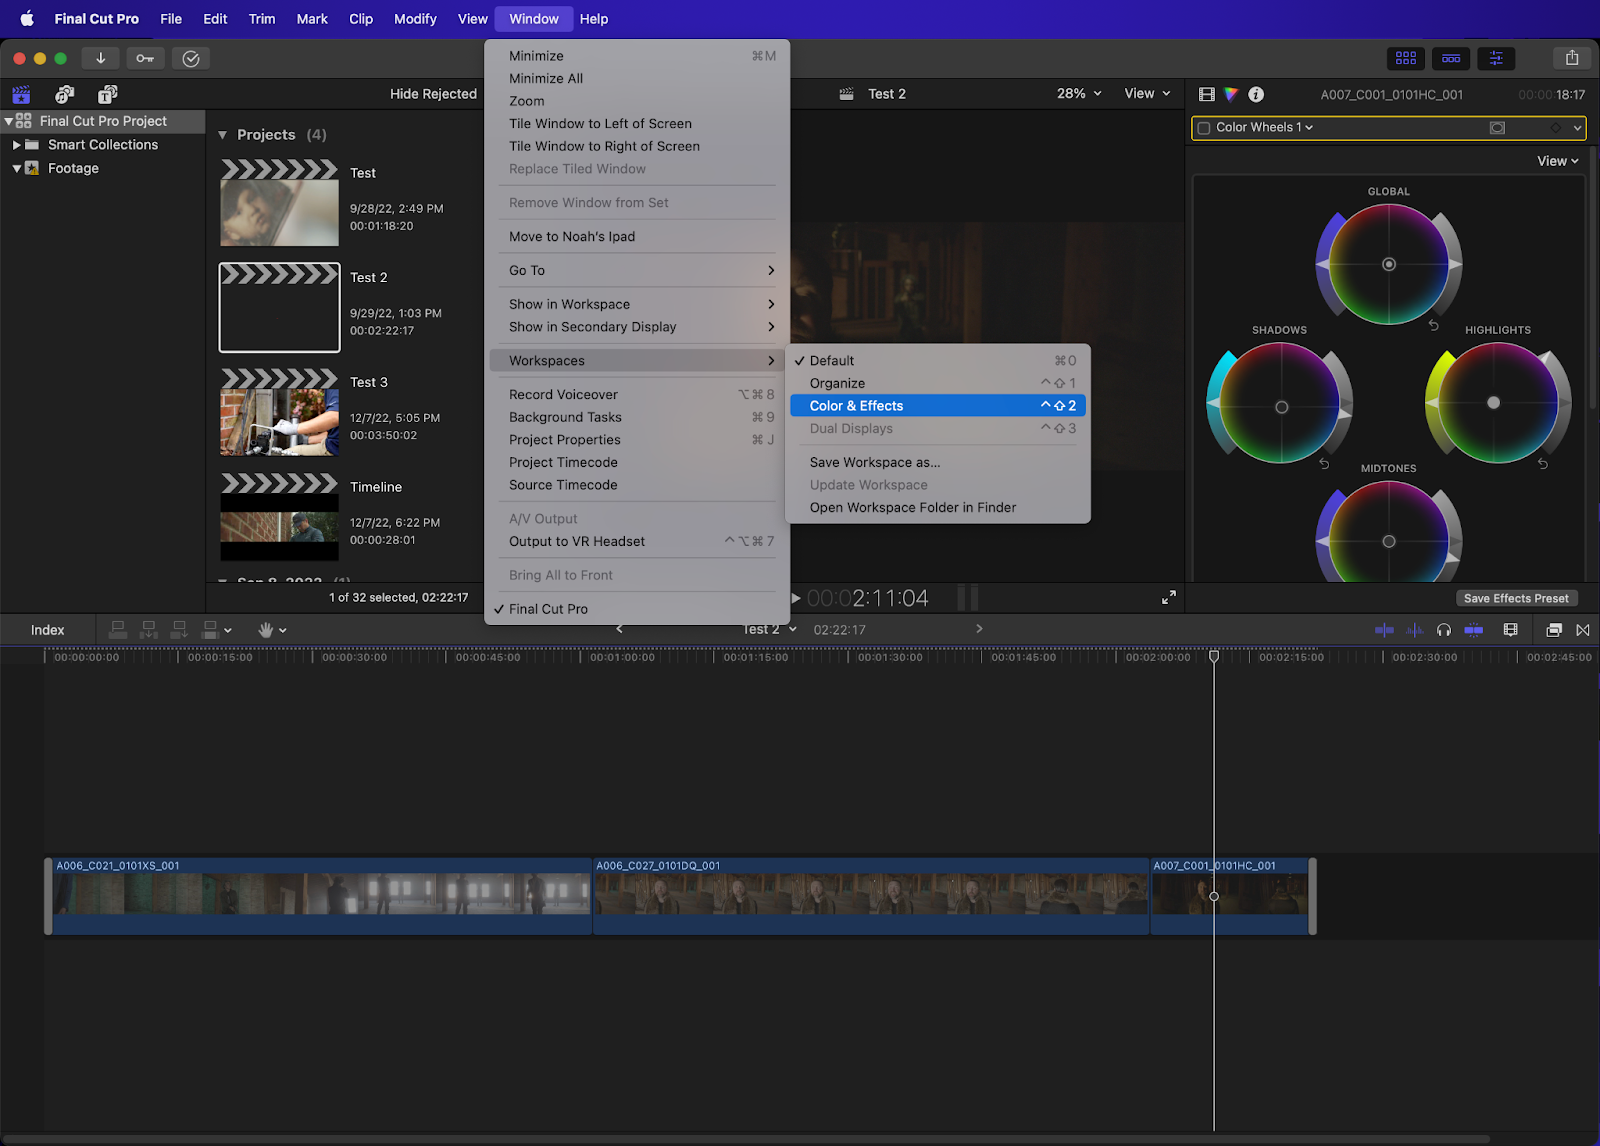
Color correction and grading in Final Cut Pro
The Color Inspector in Final Cut Pro is where you’ll find all of your color grading and color correction tools. You can also go to Window > Workspaces > Color and Effects to view all of your color settings. The Color Inspector is located on the right-hand side of the screen and contains a few different submenus (Color Board, Color Wheels, Color Curves, and Hue/Saturation Curves).
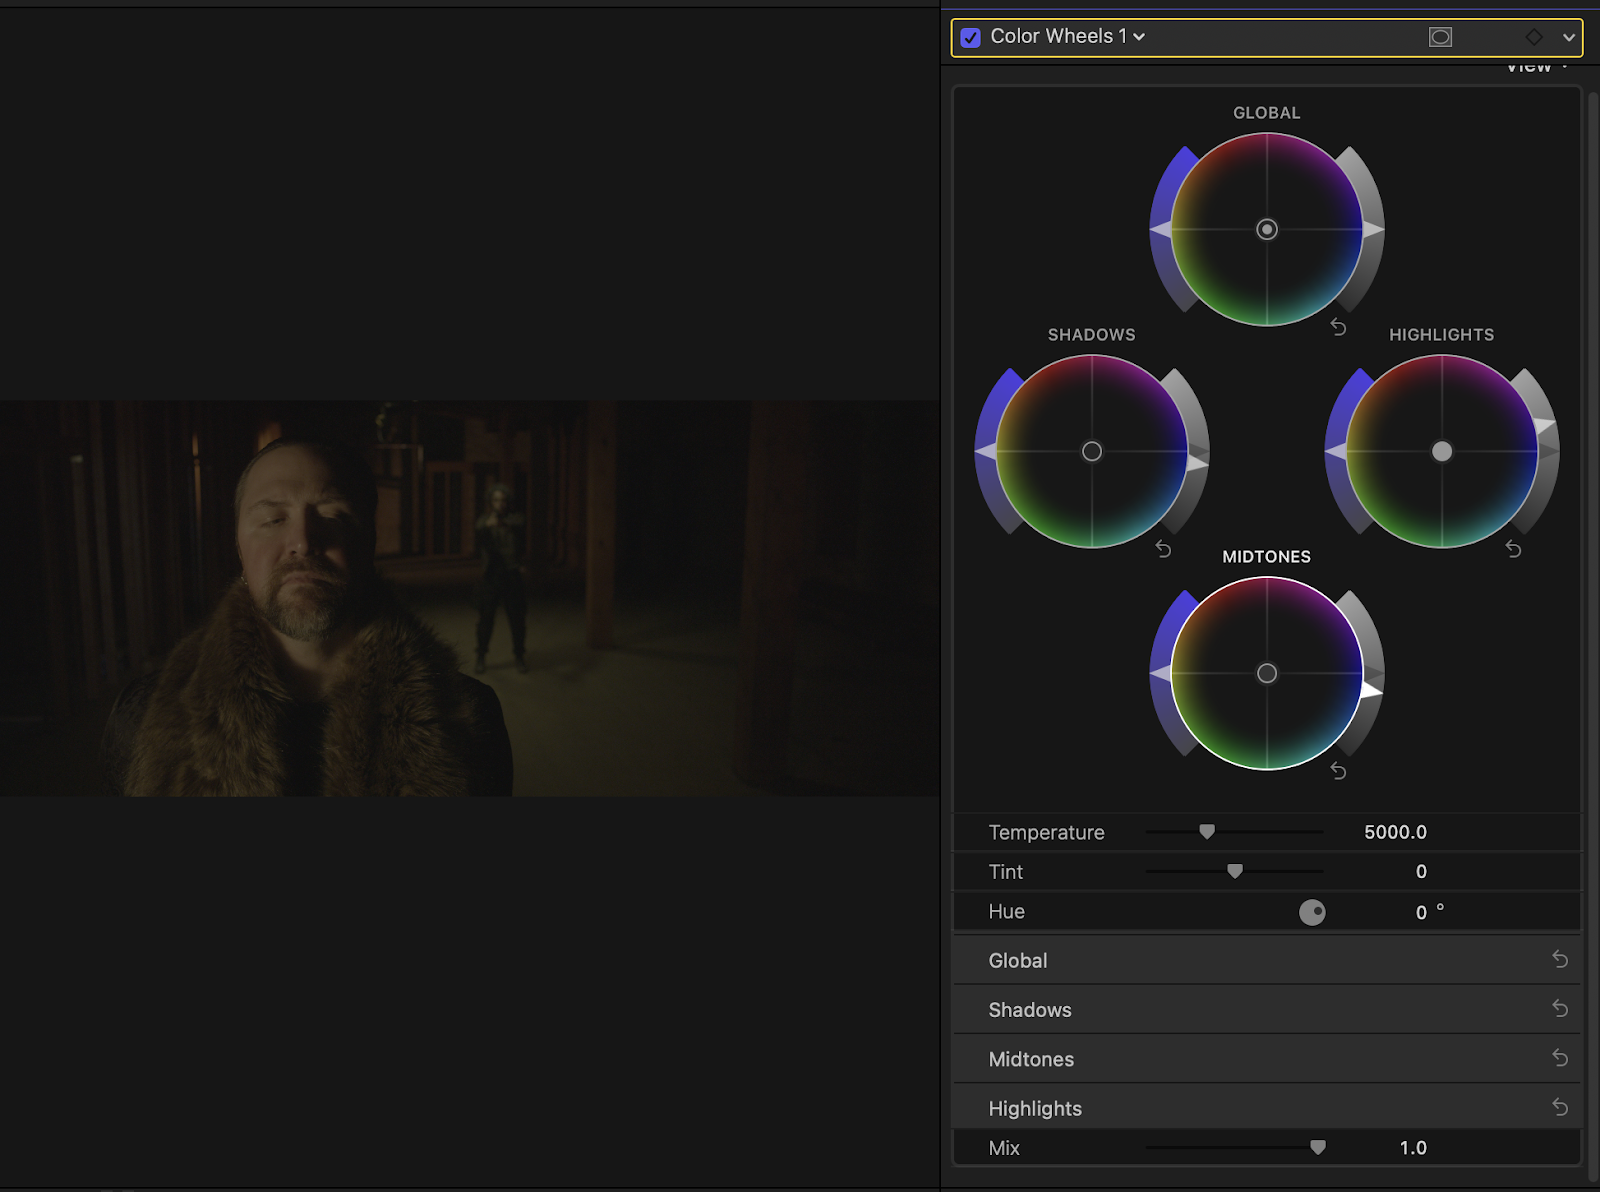
Color Wheels
Color Wheels are one of the most universal ways to color your image. The Highlight Wheel adjusts the intensity of your highlights, the Shadow Wheel will adjust the intensity of your shadows, and the Midtone Wheel will adjust the intensity of your mid-tones (which is pretty much everything in between your highlights and shadows).
There are also options for temperature, tint, and hue in the color wheel panel. You can also adjust the color, saturation, and brightness of your footage from here.
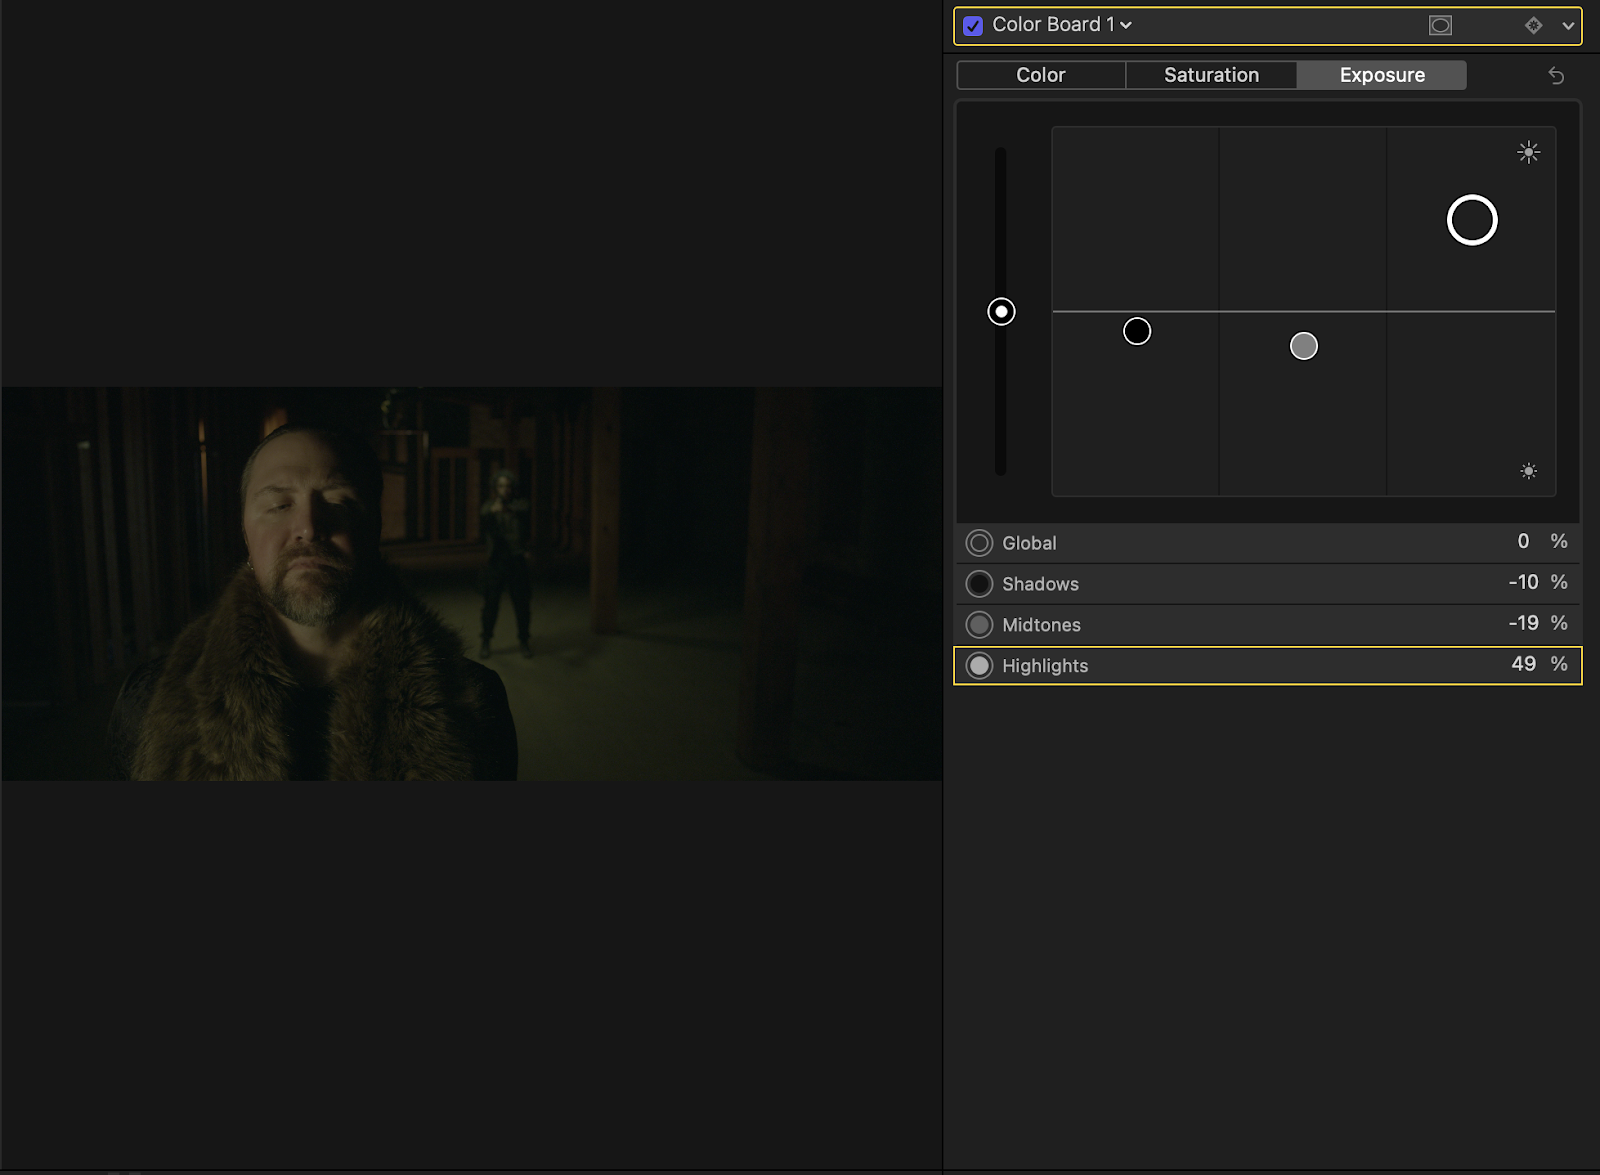
Color Board
The color board lets you change the color, saturation, and exposure of your clip’s highlights, mid-tones, and shadows. The color board is pretty unique to Final Cut and is adjusted by moving around a series of circles on a board at the top of the screen.
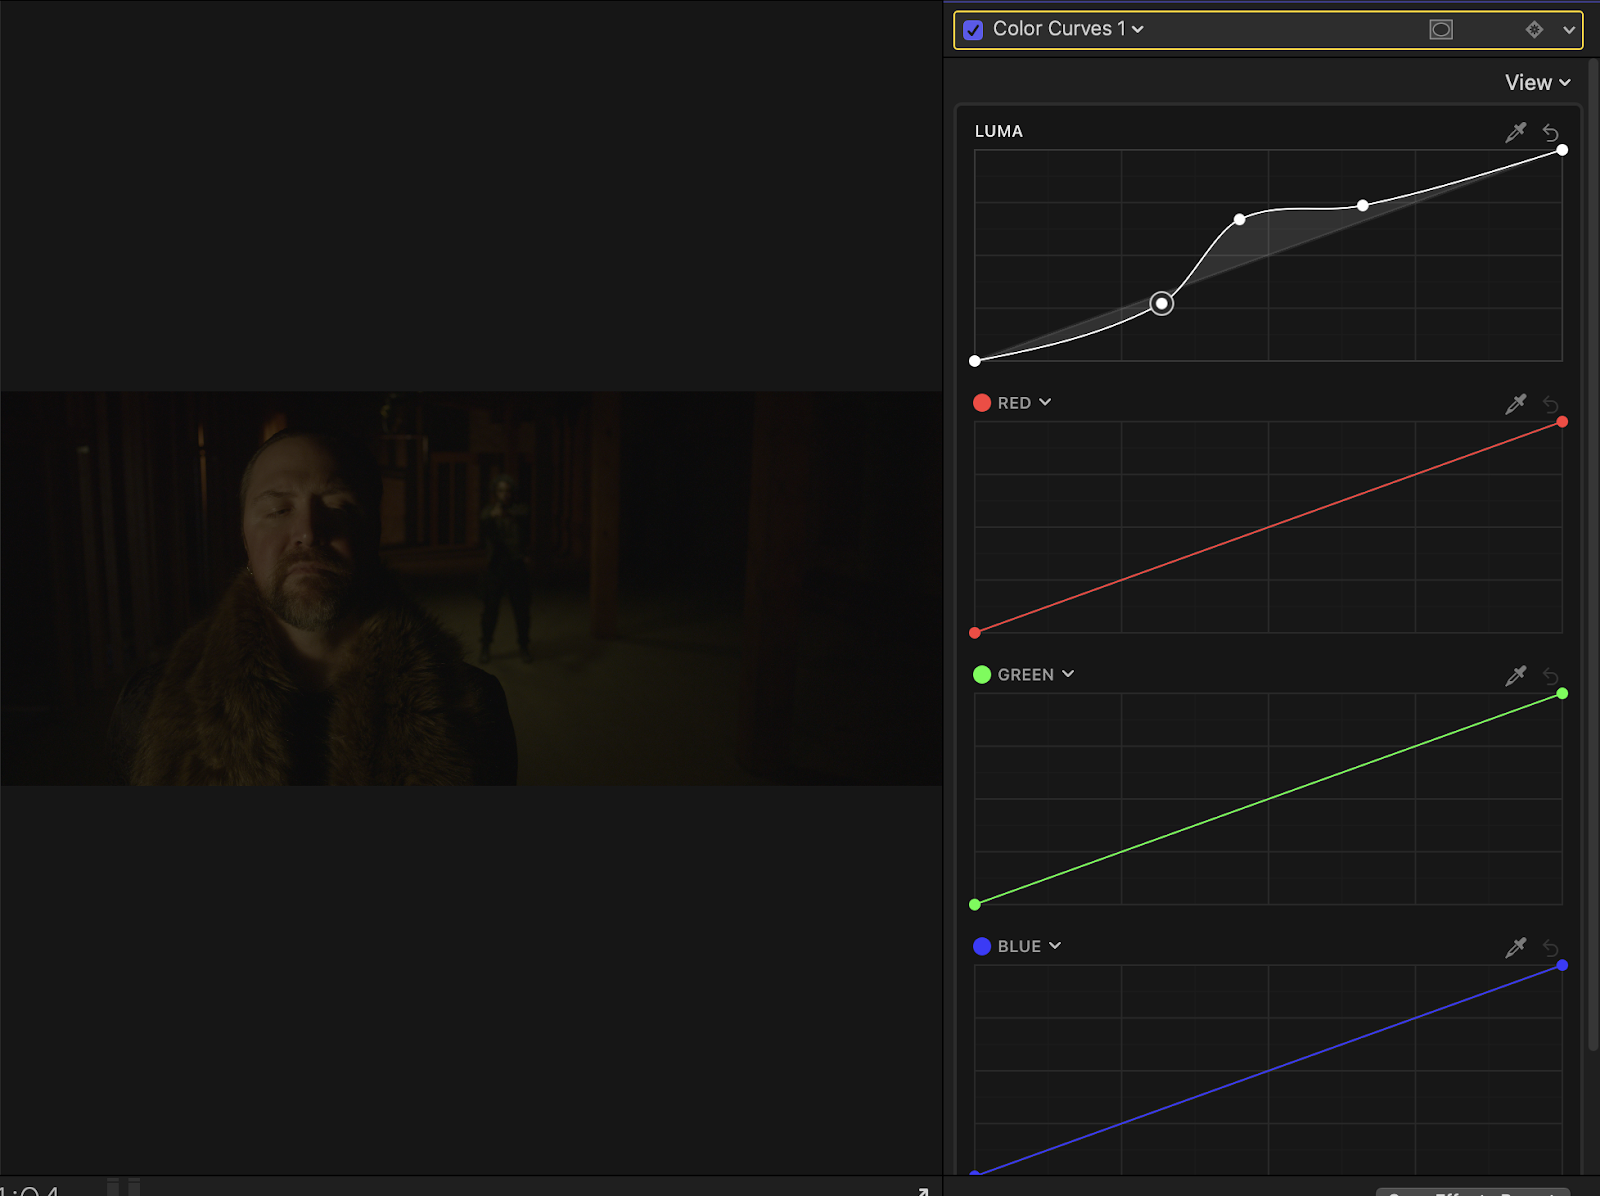
Color Curves
Curves give you much more control over a lot of the features covered under Wheels and Board. For example, the RGB Curve is used to adjust the contrast of your image. A simple “S curve” will boost the highlights and darken the shadows. You can create a curve by clicking on the line in the middle of the color graph.
A dot will form that you can drag around. Selecting a dot and clicking delete on your keyboard will reset everything back to normal.
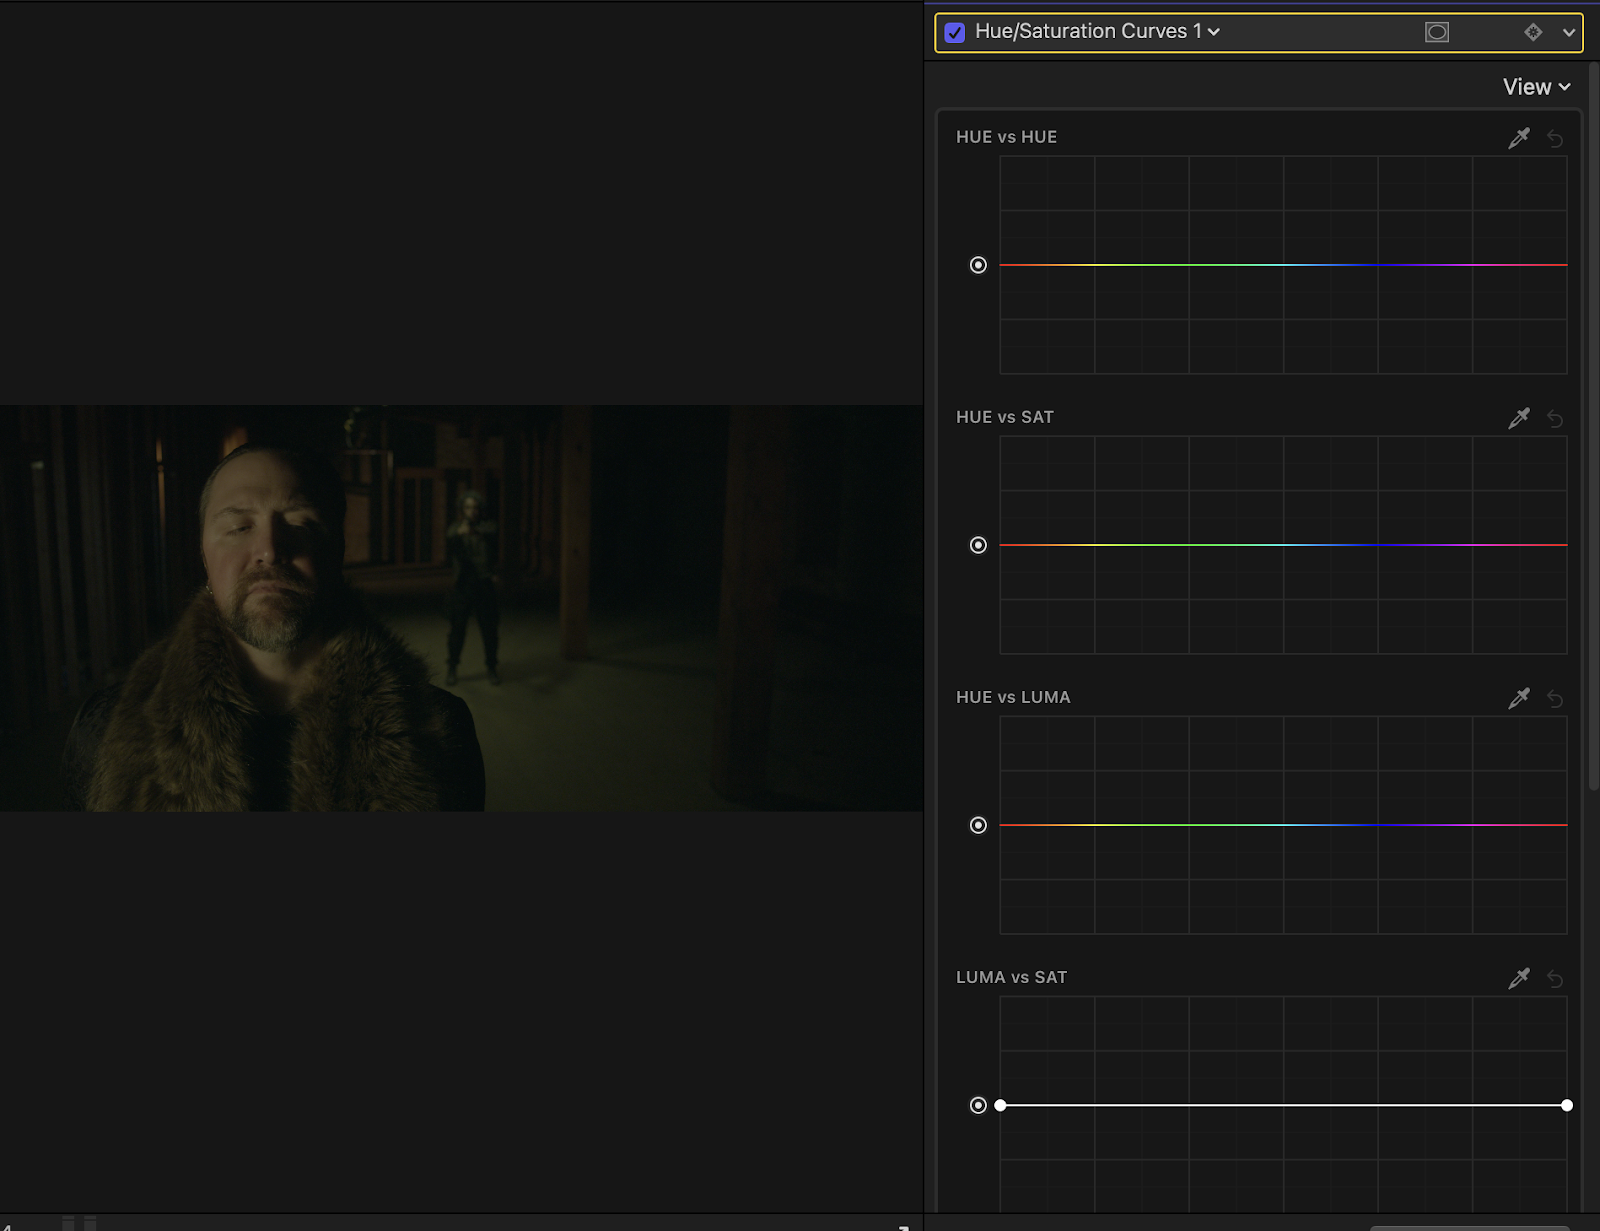
Hue/Saturation Curves
The Hue/Saturation Curves give you control over the saturation and hue of your image by using a graph.
- Hue vs Hue: What this does is allows you to select a certain color and change it to another color. This is super handy for stylistic content (such as music videos or social media clips).
- Hue vs Sat: This isolates a particular color range and allows for it to be more or less intense.
- Hue vs Luma: This will change the brightness of certain areas depending on the range that you choose.
- Luma vs Sat: What this curve does is let you change the brightness of a spot based on the saturation.
- Sat vs Sat: This changes the saturation of certain colors of the image which can be incredibly handy if a background color is too prominent or not prominent enough.
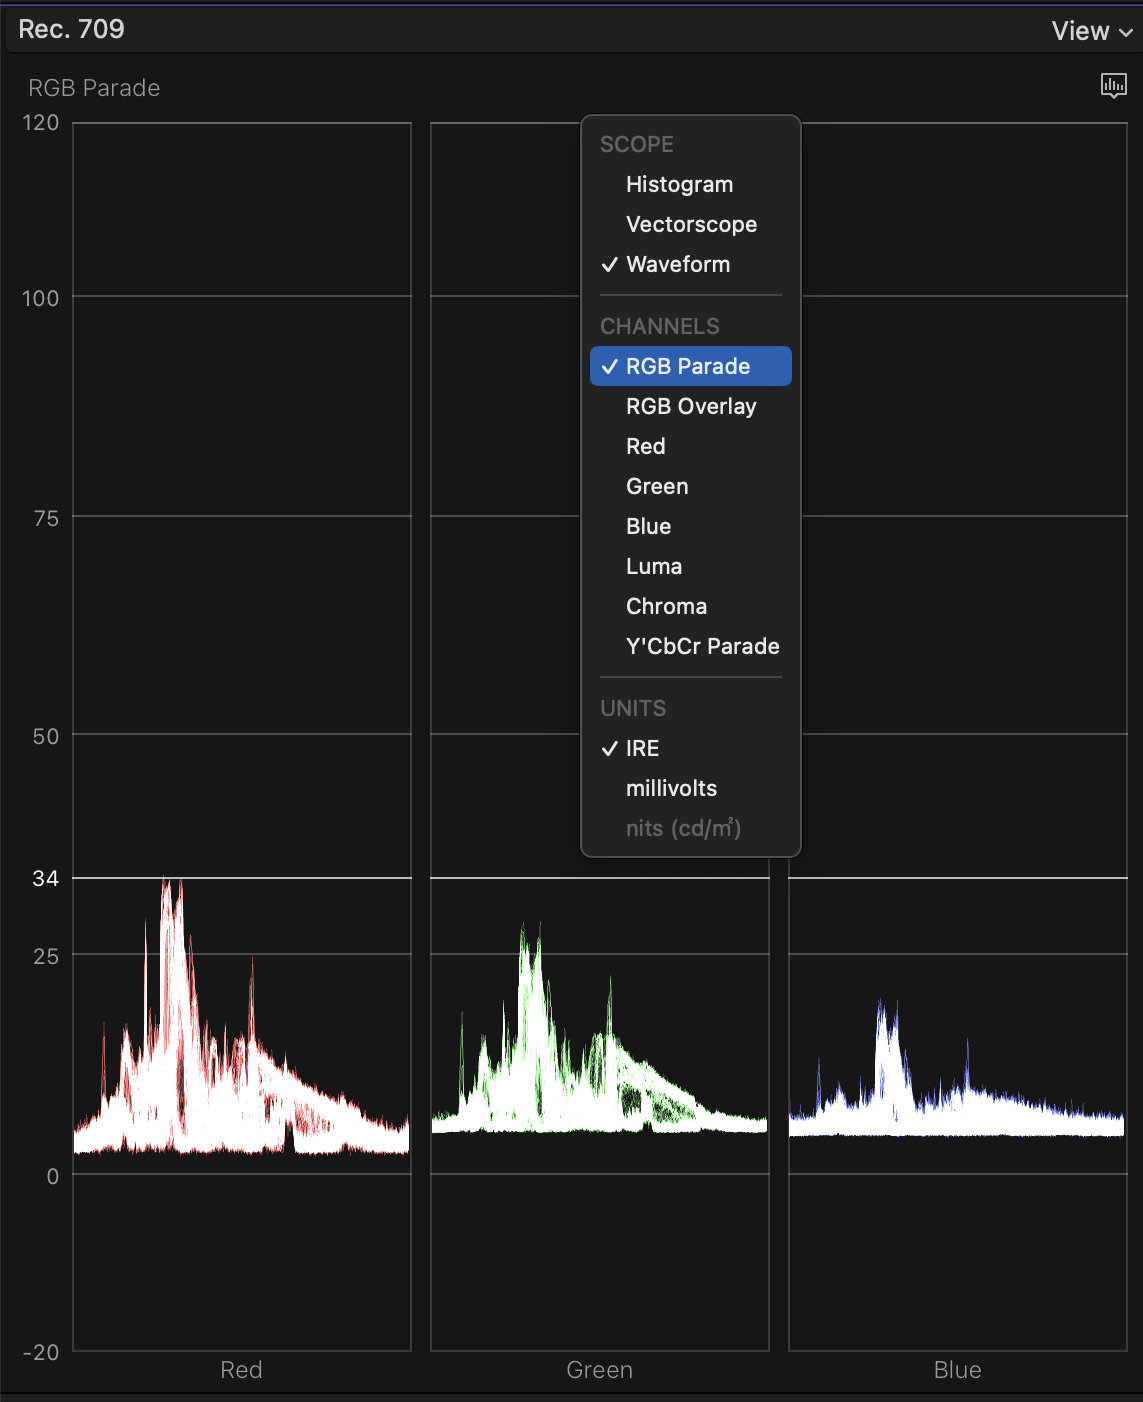
The Scopes Library
The Scopes panel is located on the left-hand side of Final Cut in the color workspace and can be used as a reference to see how over or underexposed your image is as well. It can also be accessed by clicking on ⌘7 on the keyboard. There are so many reasons to be using scopes while coloring.
Our eyes can only do so much and are far from accurate when viewing colors. Your monitor also may not be entirely accurate, requiring you to rely on scopes for complete color accuracy. Right-clicking on the Scopes panel will let you display a few different kinds.
Waveform Monitor
The Waveform scope is the default scope and asses the brightness of your image as well as specific colors using an IRE scale that ranges from 0-100.

Waveform Parade
The parade splits your image up into RGB values. What the parade does is measure the saturation of each of these colors in your image.
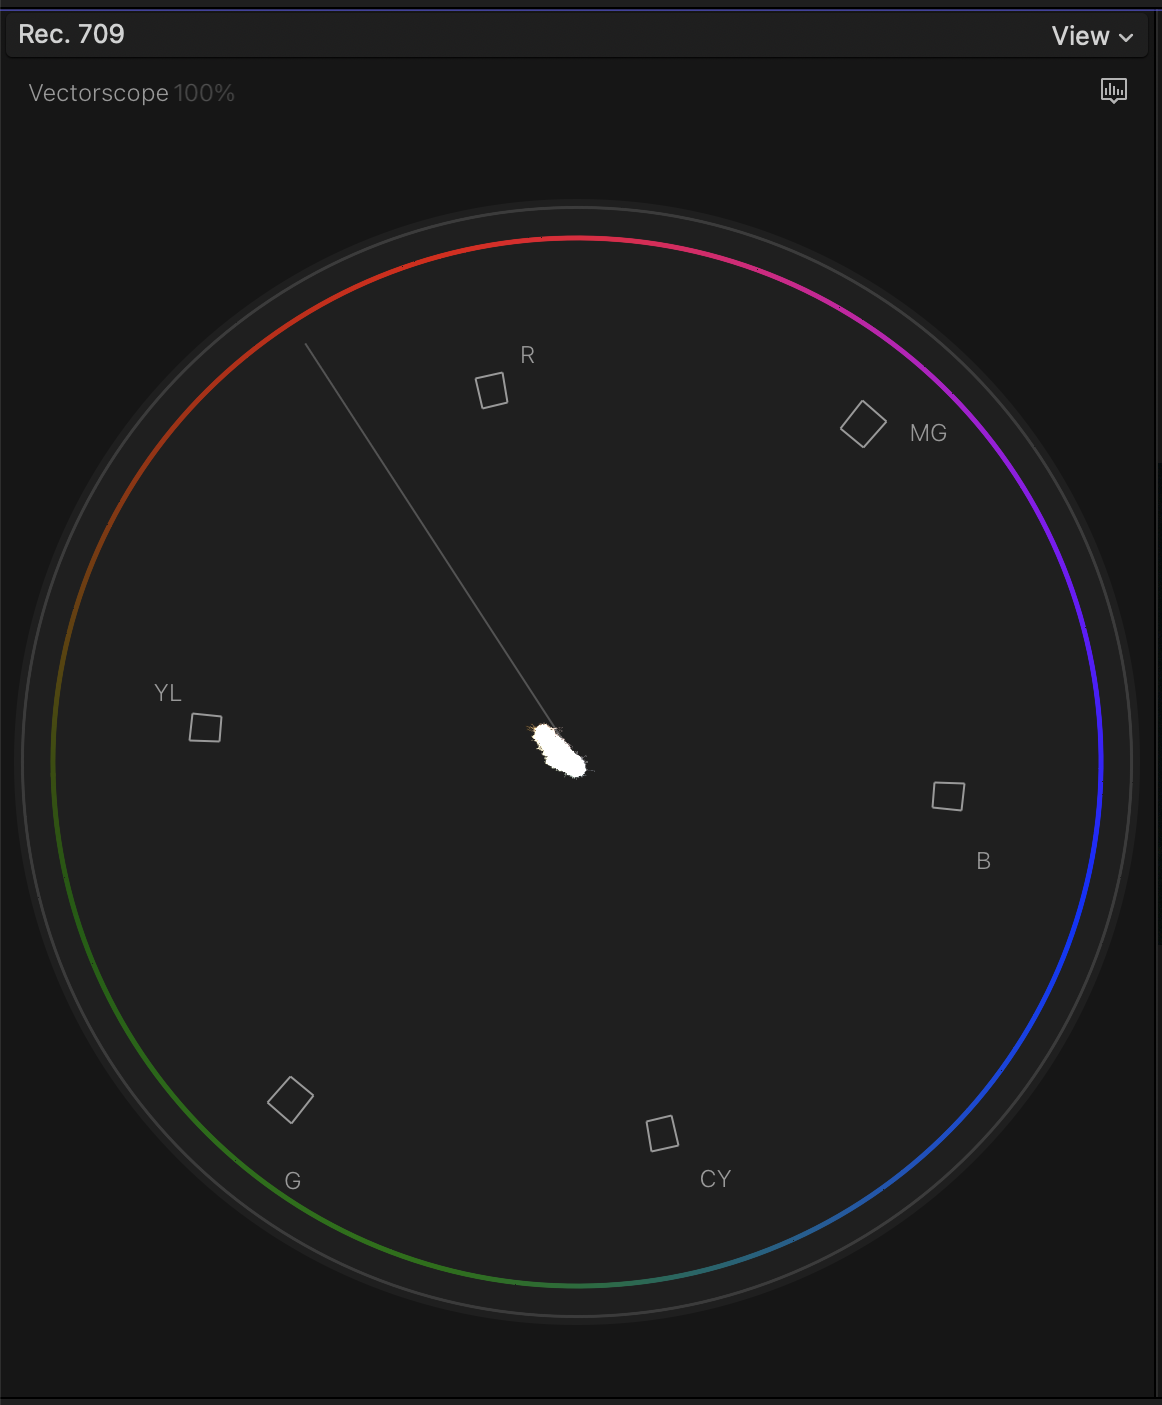
Vectorscope
A vectorscope is incredibly handy for measuring the degree of hue and saturation in an image. The further the markings are from the center, the more saturated your image and colors are. There’s also a line indicating where your skin tones should be. Skin tones can often shift green or blue depending on your camera, so it’s good to have this indicator to make changes in post-production.
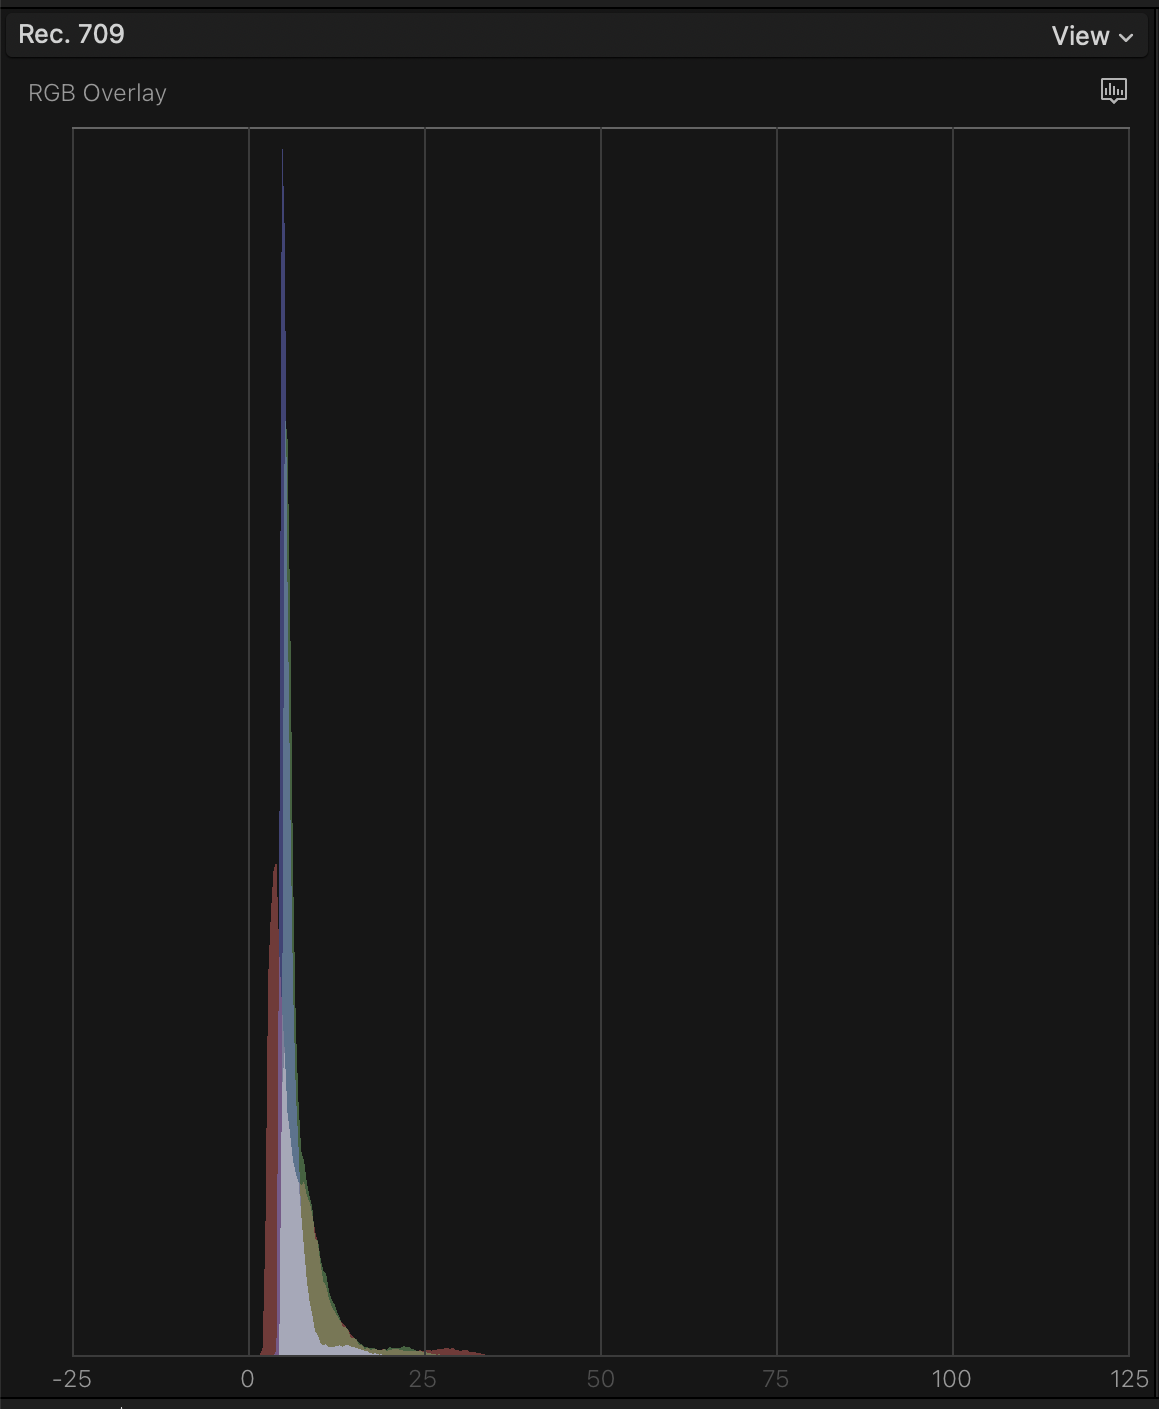
Histogram
A histogram is a graph that measures the brightness of an image by representing the frequency of each tone as a value on a bar chart. Your histogram running off towards either hand indicates that either your highlights or shadows are being clipped. A histogram is most important when filming and is a great tool to have while on set.
Adding music and audio in Final Cut Pro
Audio and music are added in a similar way to footage. Like before, importing audio and music clips is as easy as going to File > Import > Media or by clicking ⌘I on Mac. You can also drag and drop audio from your finder window directly into your library sidebar.
How to export footage from Final Cut Pro
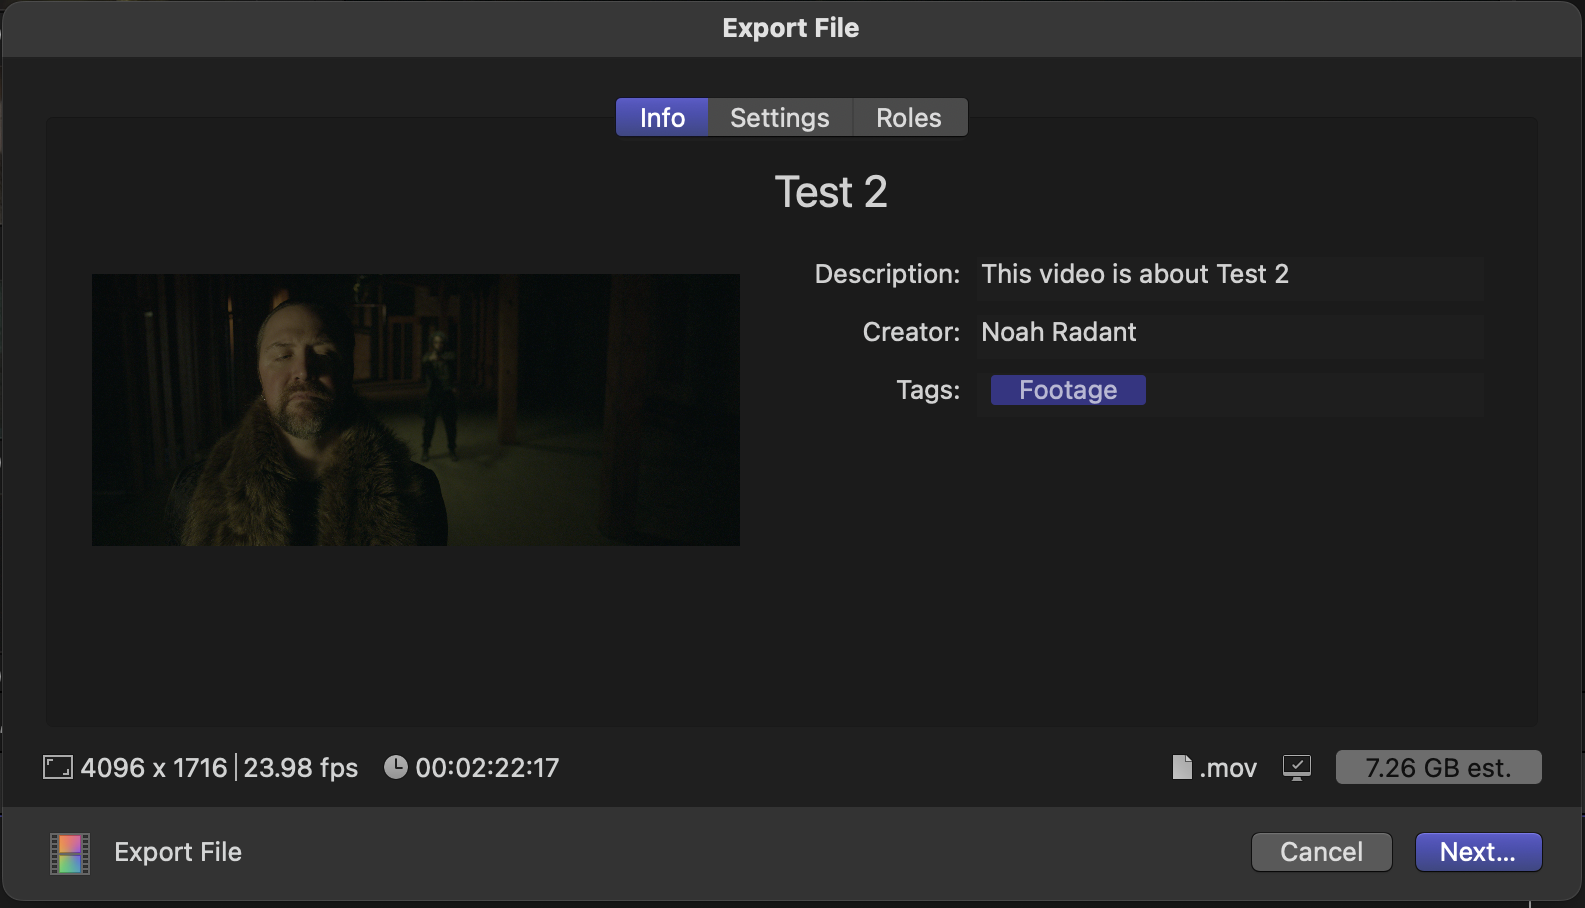
After everything in your project is shined to perfection, it’s time to open up the Export Window. This can be done by going to the top left corner menu bar and clicking File > Share > Export or by clicking ⌘E on the keyboard.
A pop-up Master File Window will then appear with three separate tabs. If you’d like, a share icon is also present in the top right corner. Like before, clicking export file in this drop-down menu will also bring you to the master file.
Once your settings are to your liking, click next in the bottom left-hand corner of the master file pop-up window. This will bring you to the finder window where you can choose where on your hard drive you want to export your video.
Summary
Final Cut Pro is one of the best video editing tools for amateurs and professionals alike. Its easy-to-use and snappy interface makes it great for those starting out, while its lightning-fast export times are wonderful for content creators who have content they need to get out on a tight deadline. It’s no wonder that Final Cut has been a mainstay editing app in the industry for over twenty years.
Too fast doesn’t exist in the editing world though, and editors are always looking for ways to speed up their process. More of the mundane and tedious things such as subtitles can be gotten out of the way with 3rd party extensions and templates.
With Simon Says you can swiftly add captions to your videos in Final Cut Pro without having to rely on the platforms slow, manual built-in functions.