
How to Install LUTs in Final Cut Pro + 10 LUTs to Level Up Your Videos
The introduction of non-linear editors (NLE) has helped to simplify video editing techniques that were once incredibly complicated. Color used to be based entirely on the lighting and film stock during production. Now, color correction and color grading can be done entirely within your video editing software of choice in post-production.
A big component of color grading is color grading LUTS. LUTS allow for much easier coloring and simplify a process that could once take hours. While programs such as Adobe Premiere Pro and DaVinci Resolve offer incredible LUT options, no program is quite as popular for video editors as Apple’s Final Cut Pro X.
Final Cut Pro offers a wonderful array of features for colorists and dynamic syncing with a slew of different amazing color grading LUTS. This step-by-step Final Cut Pro tutorial will go over how to install LUTS in Final Cut Pro as well as a list of 10 LUTS to level up your videos for macOS.
Note: With the Simons Says extension for Resolve, you can seamlessly transcribe and subtitle your videos natively within the editor. It is an incredibly helpful tool when your looking for a faster way to caption content.
What is a LUT in video?
So, what is a LUT exactly? By definition, a LUT transforms color input values to your desired output values. This might be a bit of a complex concept to wrap your head around at first, but it’s really not all that bad. Put simply, the Creative LUT (or look-up table) gives the picture a much more unique flare. It’s a preset color look for your video footage.
Final Cut Pro has a few LUT presets, but there are also plenty of plugins available online for you to play with if you so desire. A LUT gives a certain look or feel and is often synonymous with color grading as opposed to color correction. This is what can give a “cinematic look” to your footage.
There are an endless amount of possibilities with LUTs and LUT packs. You can utilize LUTS so that your footage can match your favorite films (a great tool for filmmakers) or even more simple things such as your favorite vlogs and YouTube content.
There are even specific LUTS that work to transform specific camera color spaces (made from Sony, Panasonic, Canon, and Blackmagic) to a universal color space such as rec709.
Top 10 Final Cut Pro LUTs
With the number of LUTs out there though, how do you even start to pick the right one for you? Well, we’ve narrowed down the process for you, creating a list of both paid and free LUTs. While FCPX may not have the most complex color grading tools out there, these LUTs can, generally, fix any shortcomings Final Cut may have.
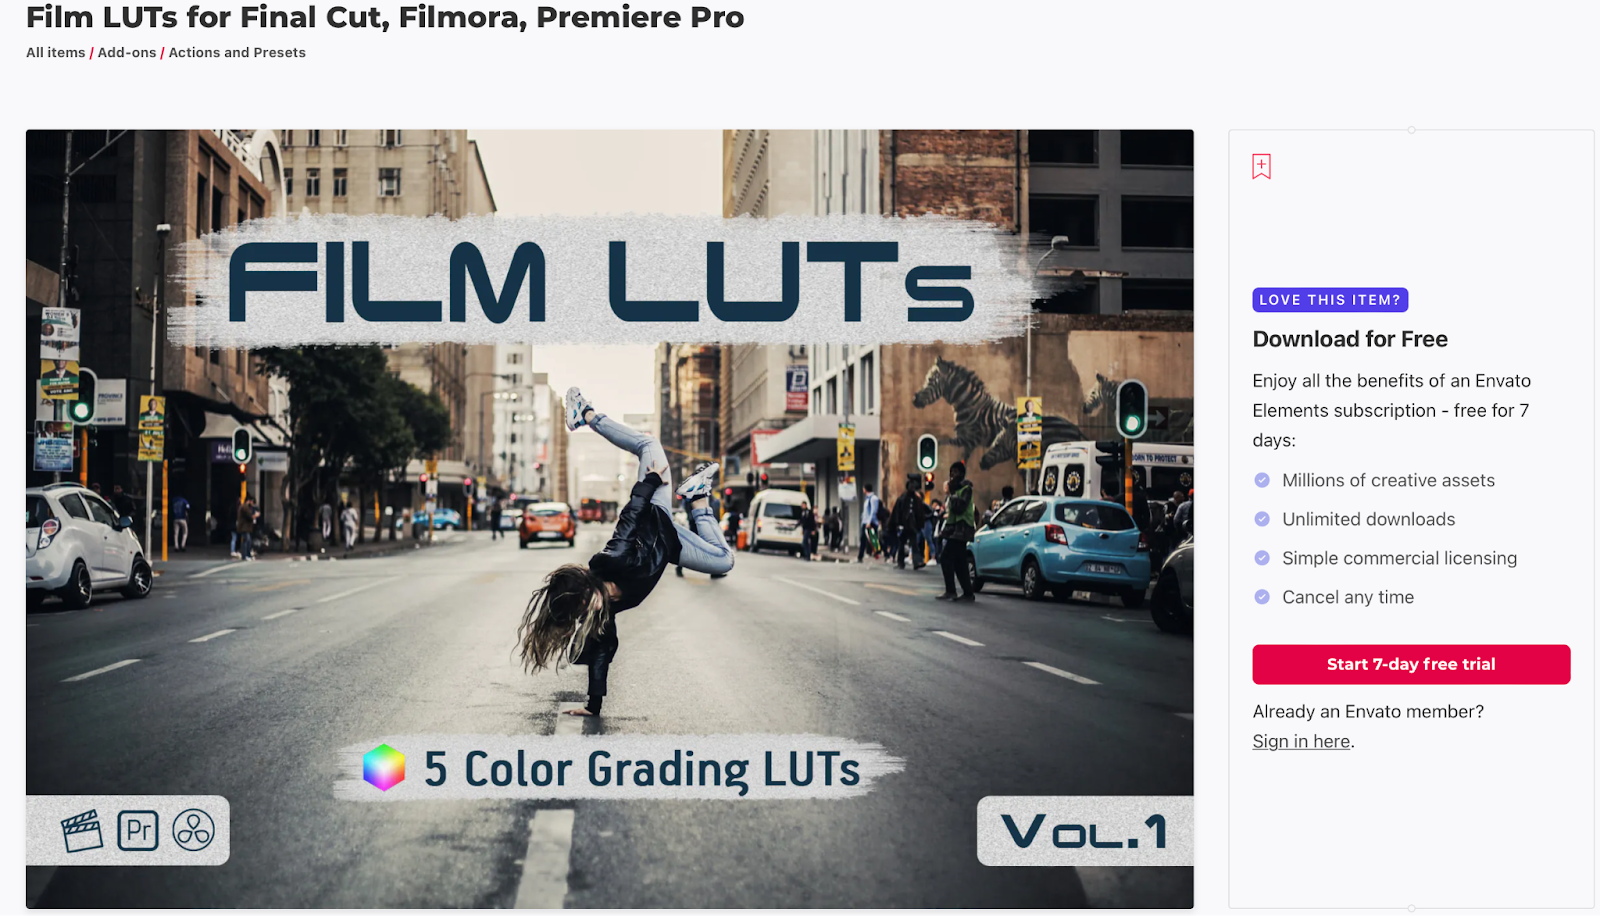
1. Film LUTs for Final Cut, Filmora, Premiere Pro
This LUT pack gives a “cinematic, contrasty and punchy look” that’ll make your video content pop and look incredibly intense. This pack contains 5 .cube files (LUTs) and a PDF File with Simple Instructions.
2. Lutify Me
Lutify Me is wonderful for those who plan on utilizing a ton of LUTs in their content creation process. Lutify Me lets you create your own LUTs as well as use templates. This extension organizes everything and makes LUTs simple and easy to use.
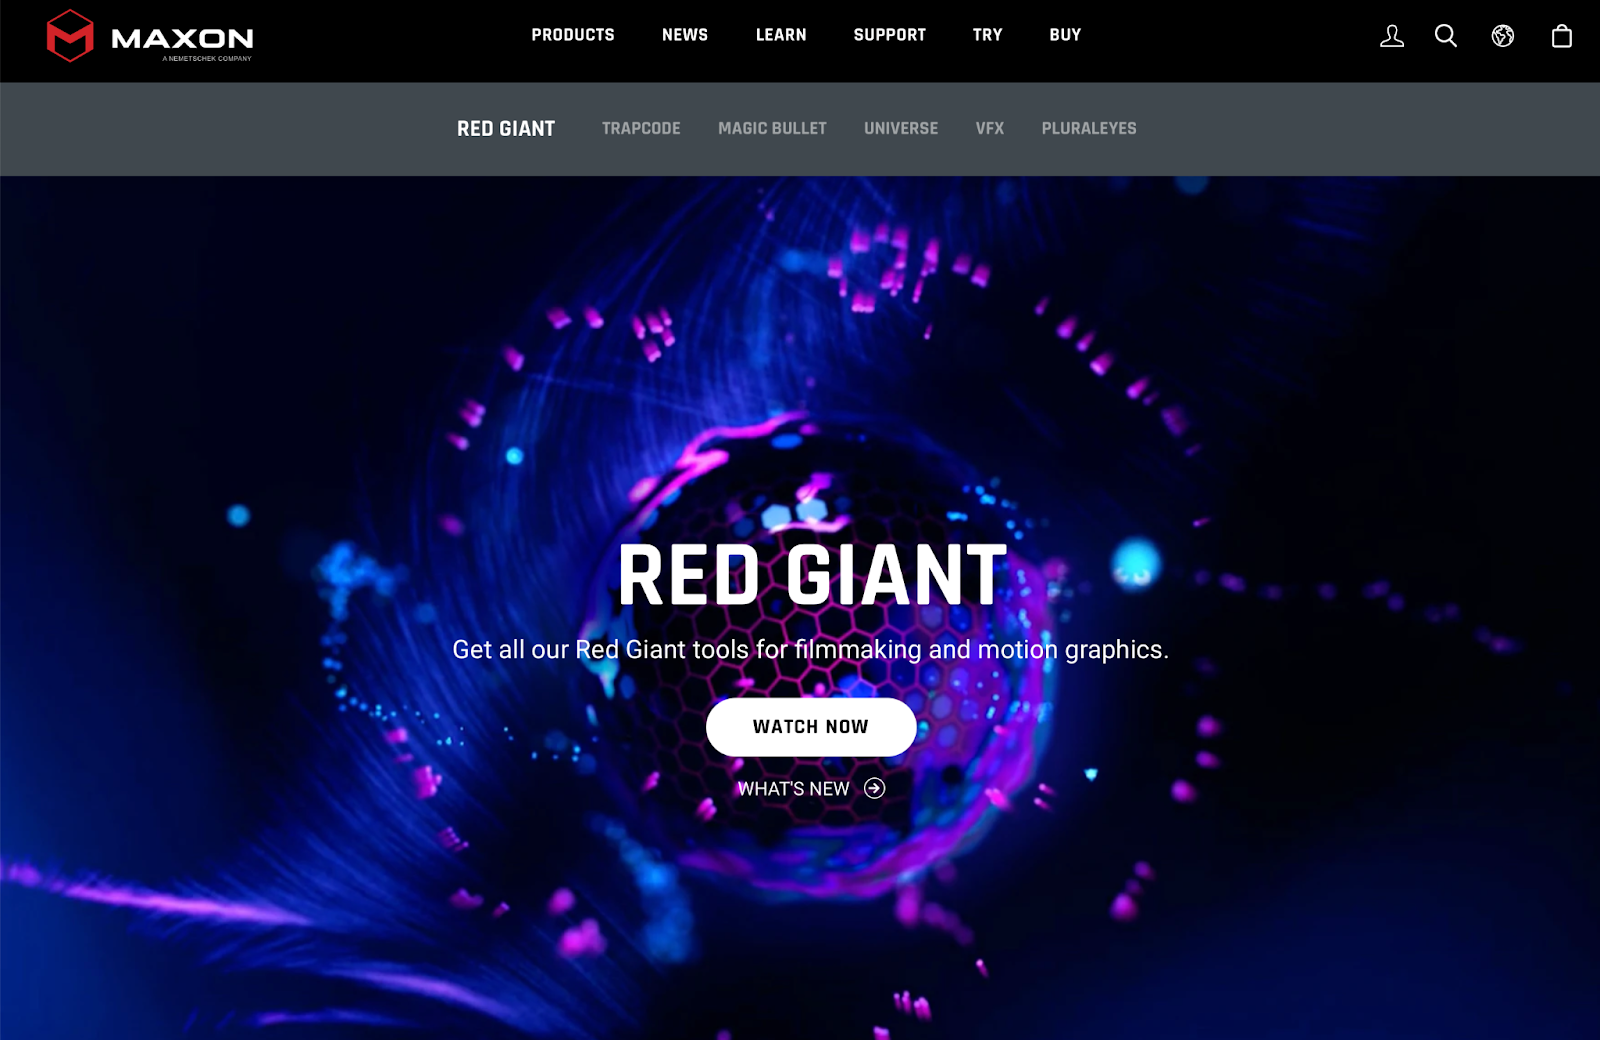
3. Red Giant Universe
Red Giant Universe doesn’t just have a slew of amazing LUTs and color-grading tools, it also gives users access to plenty of incredible effects and overlays.
3. Hollywood LUTS
This Hollywood LUTs pack is made for all Film Creators, Video, and Photo Editors that love to have amazing outcomes for their presets. These color presets are made for a slew of different cameras as well made by Panasonic, Sony, Canon, and Blackmagic. This pack will for sure make your color grading experience more enjoyable and pleasurable.
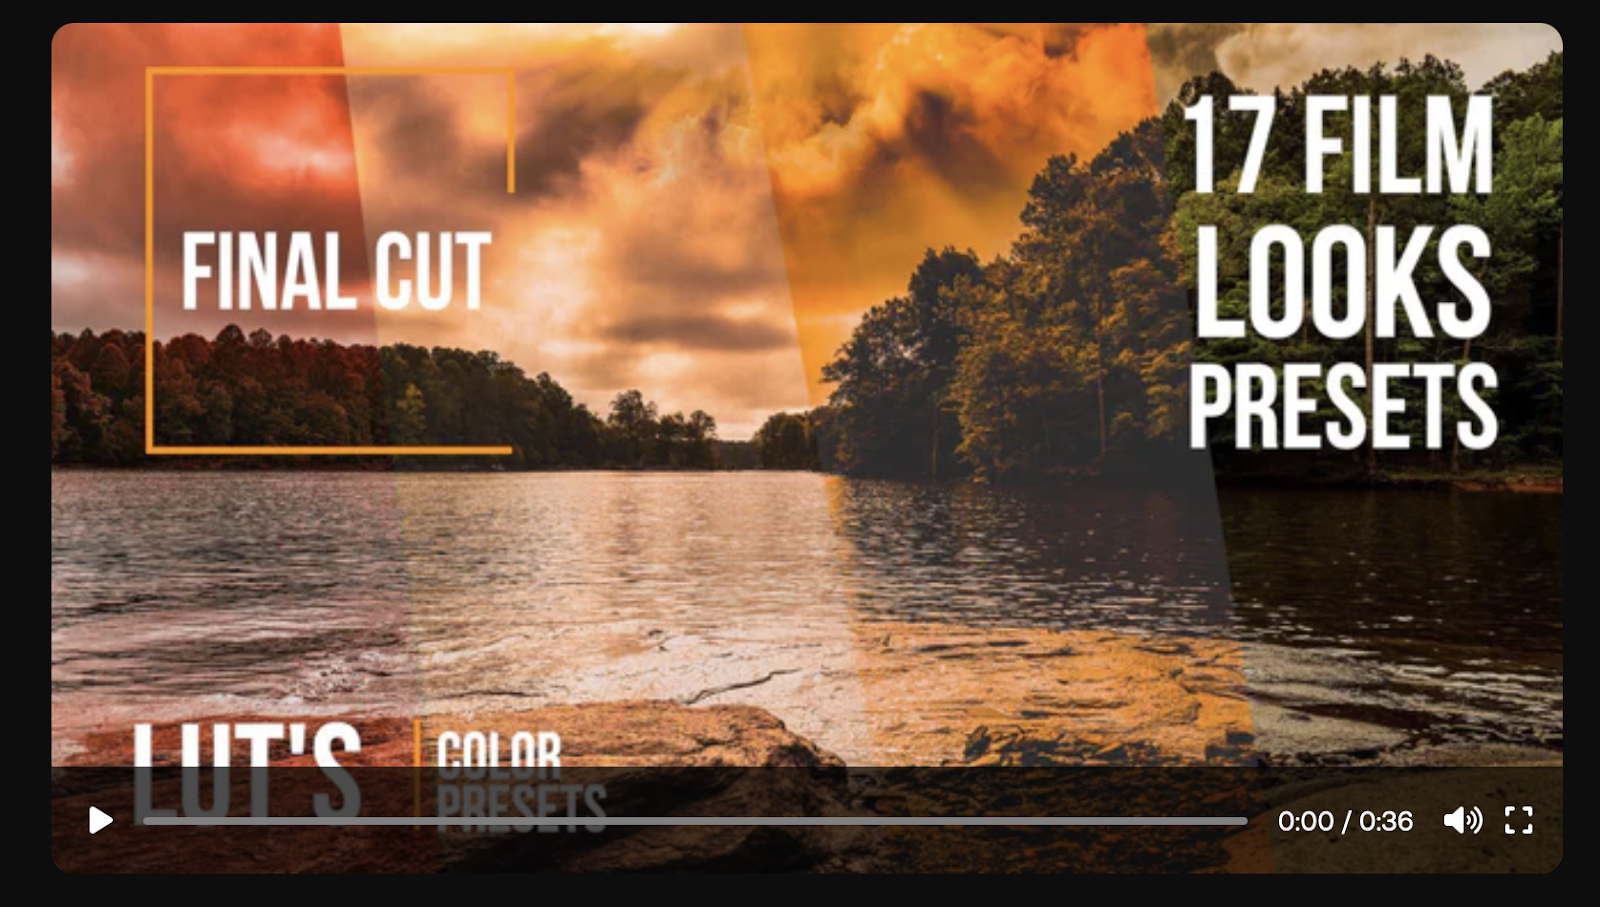
4. Film Looks LUTS
This pack is for all movie buffs. With these professional LUTs, you can make your videos look like top-notch movies that we all love and appreciate. These 17 color presets are made professionally side by side to the movies with stunning final results. These LUTS are sure to level up any kind of videos, footage, music videos, Indie movies, and YouTube videos.
5. Cinematic LUTS Vol.1
With these professional LUTs, you can make your videos look like top-notch movies. The color presets pack is very simple to use and with just a few clicks you can see the amazing results on your videos. You can use these color presets on all kind of cameras and software that supports LUTs and cube files.
6. Colorify Instagram LUTS
With these beautiful filters, you can create engaging videos that can be used on advertising videos, films, social media posts, wedding clips, and even photos.

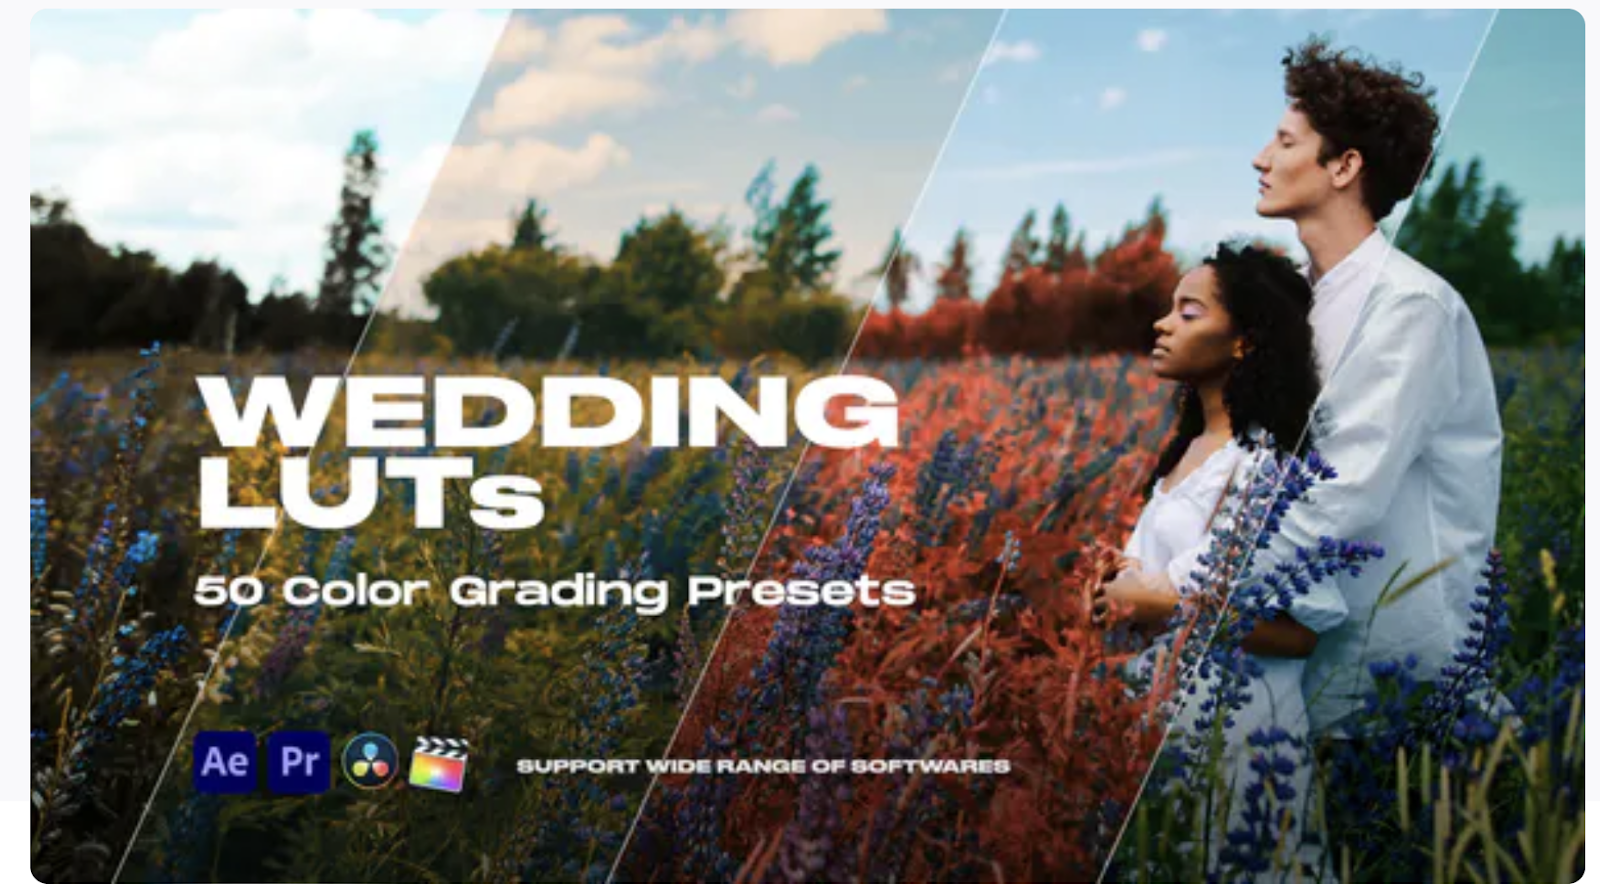
7. Colorify Wedding LUTs
The wedding color presets pack is very simple to use and with just a few clicks you can see amazing results on your videos. You can use these color presets on all kinds of cameras and software that supports LUTs and cube files.
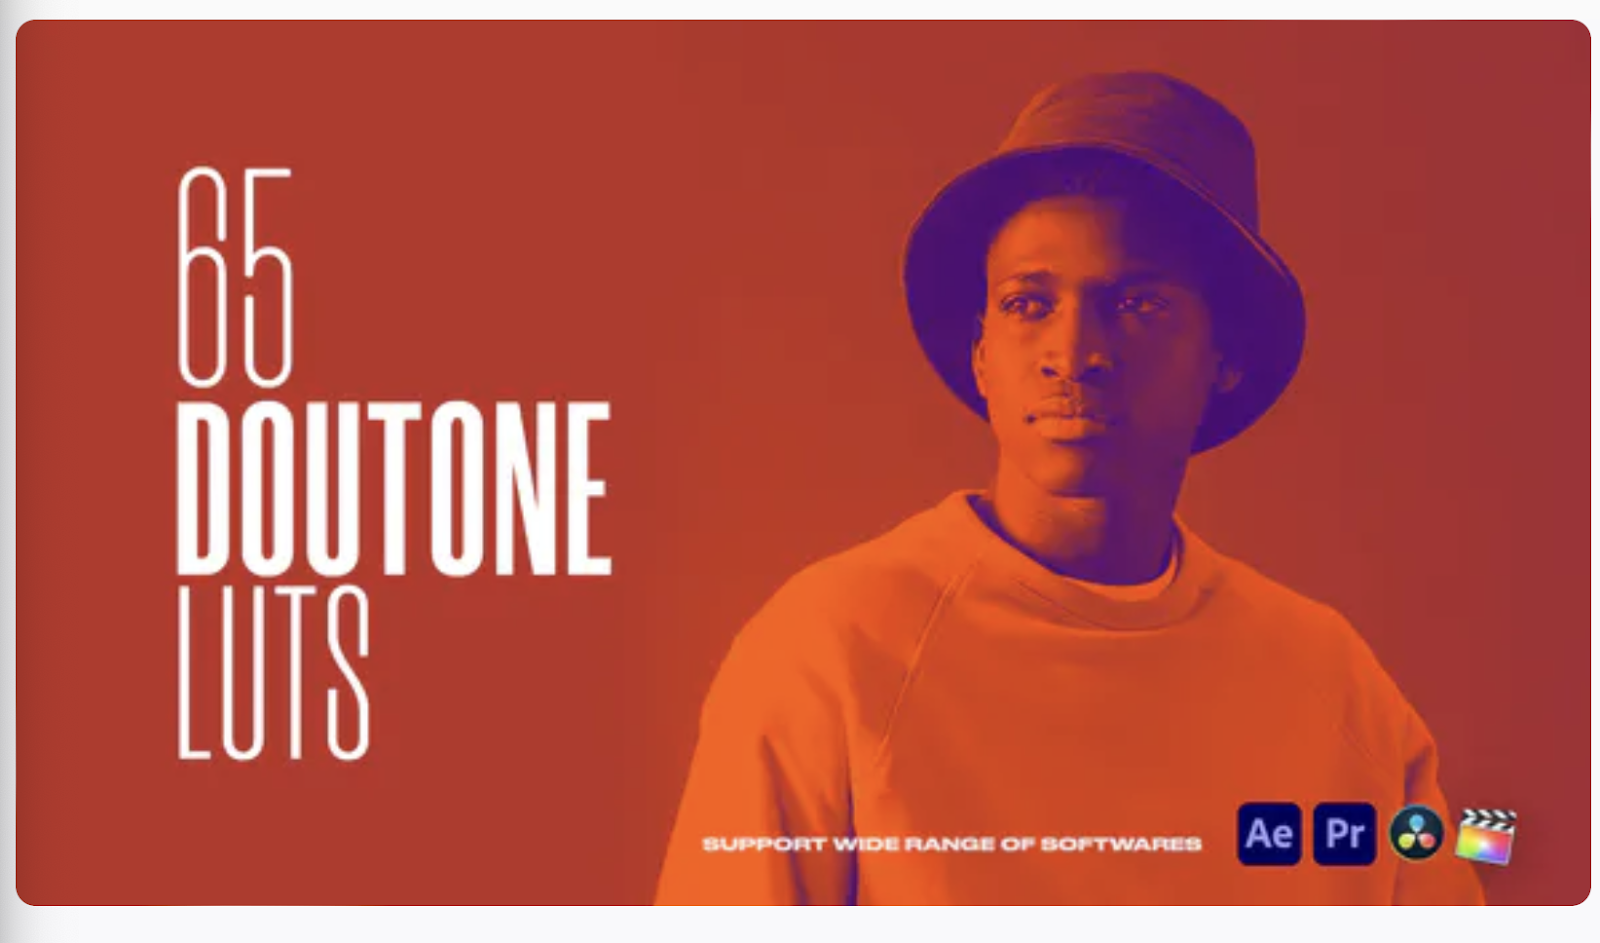
8. Colorify Duotone LUT Looks
Colorify Dutone LUTs gives your videos a unique style. These templates can be easily used in any software. These modern and stylish effects can be used on any contents, like Youtube videos, Music videos, TV shows, Social media, etc. LUT files are compatible with many softwares such as photoshop, After Effects, Premiere Pro, DaVinci Resolve, Final Cut Pro and even mobile apps.
9. Vintage LUTs
This Vintage Color LUTs package includes 12 color correction LUTs and will make your videos and photo unforgettable.

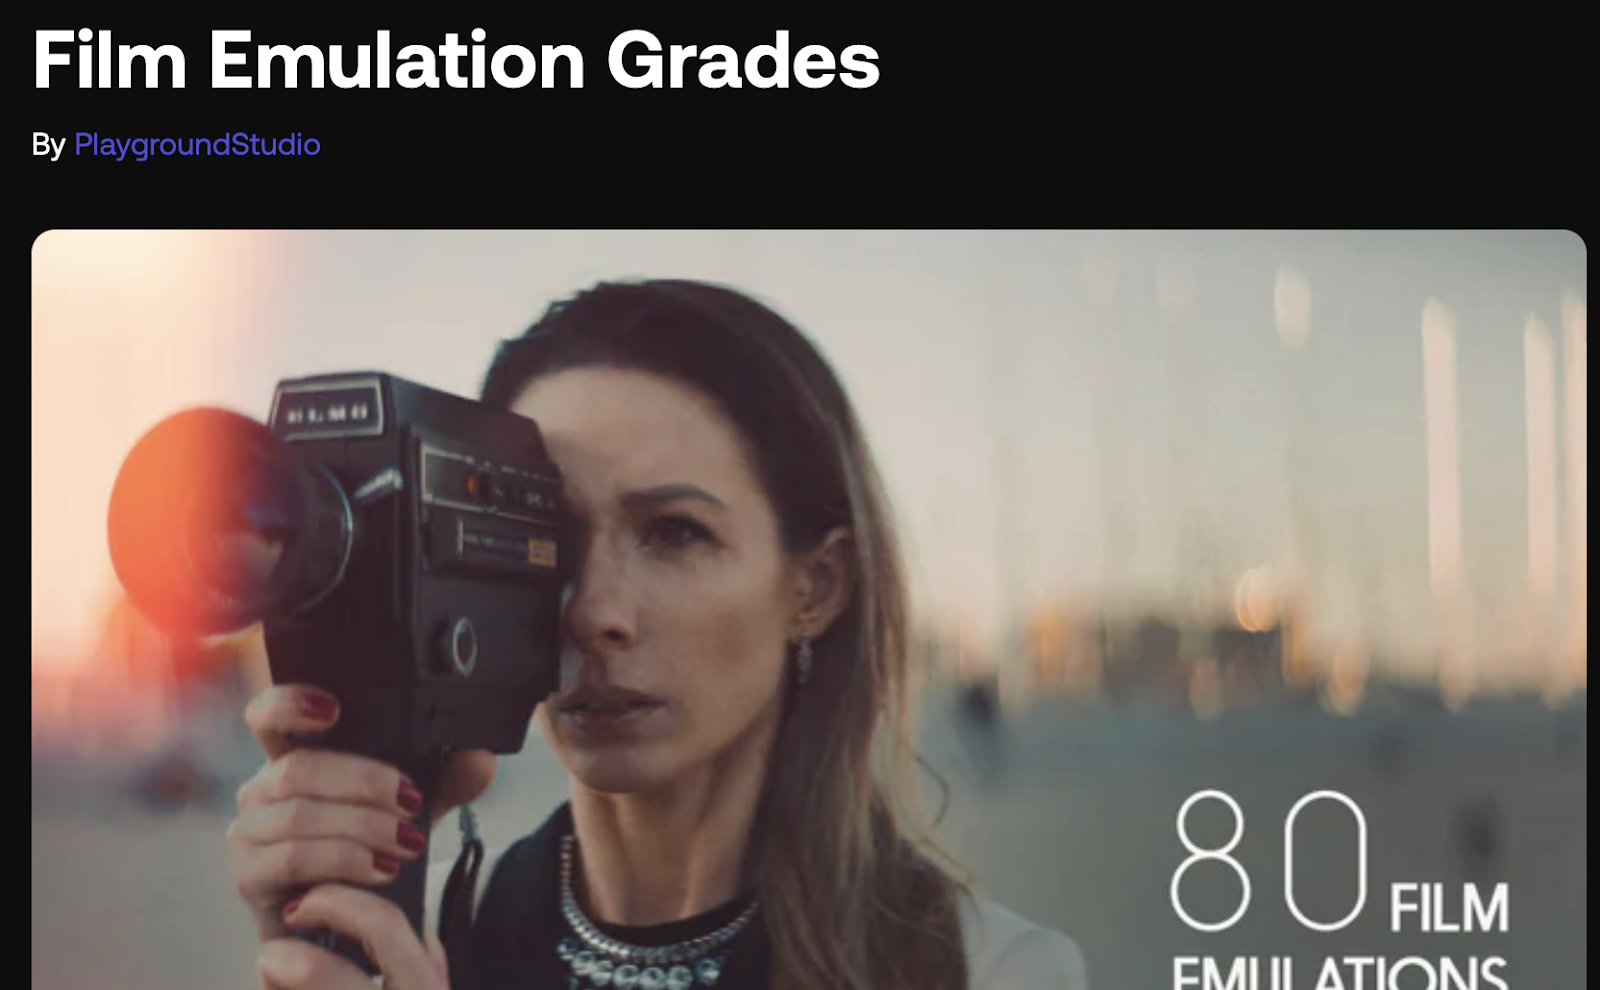
10. Film Emulation Grades
This LUTs pack contains 80 Film emulation LUTs. You can use them for your films and TV, social videos, presentations, and more. Best of all, they're very easy to use. Import the preset file or just drag and drop the LUT to your video to add fantastic color grading.
How to install LUTs in Final Cut Pro
So now that you have your LUTS, how do you install them? The first thing you’ll want to do is open up Final Cut and open up the Effects Browser.
You’ll then want to either double-click on the Custom LUT effect or drag it onto your footage. After that, go to the Inspector Window and select Choose Custom LUT.
This will open up your finder window and you can choose any LUT that you have downloaded. It’s as simple as that!
Conclusion
Final Cut Pro is one of the best video editing tools for amateurs and professionals alike. Its easy-to-use and snappy interface makes it great for those starting out, while its lightning-fast export times are wonderful for content creators who have content they need to get out on a tight deadline.
It’s no wonder that Final Cut has been a mainstay editing app in the industry for over twenty years.
When you want to remove the hassle of mundane and tedious processes in Final Cut Pro, like creating subtitles, third-party extensions can be a major help.
With Simon Says Resolve extension you can translate and transcribe your content with just a few clicks. You can then use the transcript to effortlessly add captions and subtitles.


